Kits Secret Guitar, Gear, and Music Page
Guitar stuff, gear stuff, soundclips, videos, Gilmour/Pink Floyd stuff, photos and other goodies.
Contact: [email protected]
Copyright Kit Rae.
VISIT MY SWORDS, KNIVES and FANTASY ART WEBSITE www.kitrae.net


How to Apply Customized Pedal Graphics


Have you ever wanted to have your own custom art or design on your pedal? Here is how to do it. My test subjects here are two BYOC Large Beavers , and a couple of Stomp Under Foot Big Muffs, using some Pink Floyd graphics I comped together in Photoshop. Even if you can't dreate art, you can grab art or images to use off the web using a google image search. Microsoft Publisher, Microsoft Paint, Adobe Photoshop Elements, or similar simple graphics programs can be used to crop or edit. Basically any program that lets you place and size images and add text can be used. Another option is to use a friend who is a graphic designer (not me!) to lay your art out for you. I do not customize pedals for other people, by the way, so don't ask. This page is just to show YOU how to do it.
MAKING THE ART - Scan the art you want to use onto your computer, or get the highest resolution images you can find online. You can do this with Google images. Google the subject you are looking for, click the images tab on the Google page to bring up only the photos and art, then look for the image size options, usually on the left side of the Google page. Pick Large or Medium to view only images in those size categories. They are usually suitable for printing. Trace a template for the top of the pedal, including all hole locations, and scan it, or use templates provided on the website of the company your purchased your enclosure from if your are a boutique pedal maker. You can then place your art over the template in your graphics program and resize it to fit. You can find a variety of free fonts to use online at such websites as http://simplythebest.net/fonts/ and http://www.acidfonts.com/. Once the layout is done, you may delete the template or keep it if you need to use it a a guide to cut the art out.
Print your art out on t-shirt transfers that can be printed on common inkjet printers. In the US these can be found at office supply stores, Walmart, Kmart, Target, et cetera. Be sure to use the t-shirt transfers meant for black or dark colored t-shirts (transparaent film with white backing) if the pedal is painted a dark color. Use regular transfers (transparent film) for white t-shirts if your pedal is painted white or a very light color, or if you want the paint on your pedal to show through the art. Be warned though, the colors may be washed out if you use the regular t-shirt transfers on anything other than white paint. I use Avery brand dark t-shirt transfers. Be sure you select the appropriate paper and select highest print quality in your print settings. It is a good idea to make a test print on plain paper first, so you can do a quick cut out and lay across the pedal to be sure everything fits. There are other materials you can use instead of t-shirt transfers. I have seen people use regular photo print paper. Transfers seem to be the best material though, as they are very thin and it is easy to hide the edges once the clear coating is applied.
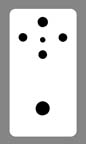
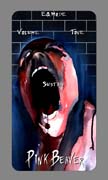
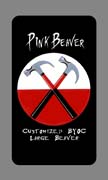
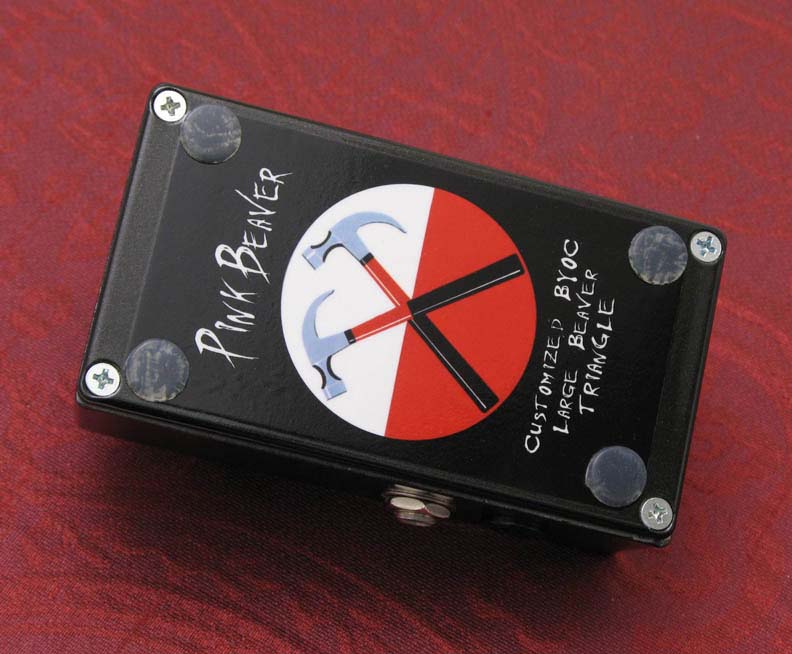
Below are some designs I mocked up over my templates, mostly using Gerald Scarfe's incredible art he created for Pink Floyd's The Wall. Note - this is all copyrighted art. I don't own it, so don't even ask if I will sell it to you. All of this art was found on the web, scanned, or made from screen captures from The Wall DVD, then comped together in Photoshop. Click on the template to the right to get a .pdf template you can use for your Large Beaver layout.
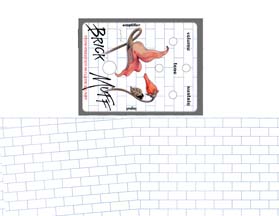 .....
..... .....
.....
APPLYING THE ART
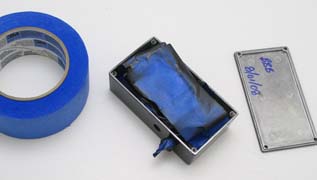
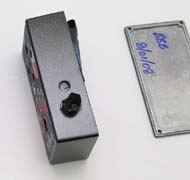
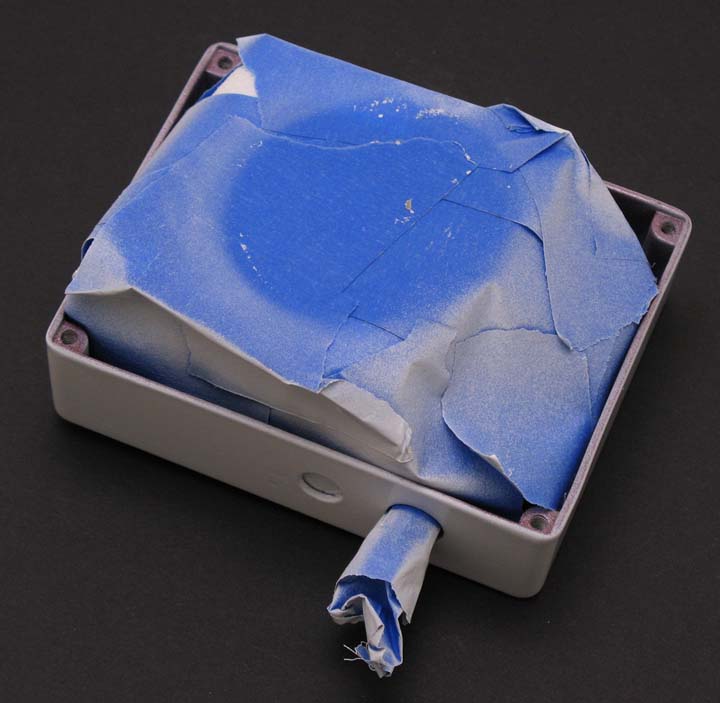
1. Remove all knobs, jacks, and circuit board from the Beaver (or any pedal), or just remove the knobs and jacks and tape over the pedal circuit and guts with painters tape. Some circuit cannot be removed from the enclosure without desoldering, so taping over the circuit is a simple solution. Be sure to cover the holes, so spray paint will not get on the circuit.Wipe off the outside pedal of any debris or finger prints, or the paint will not adhere properly. I wipe down the surfaces with common isapropyl rubbing alcohol found in super markets and drug stores.
 ...
... ...
...
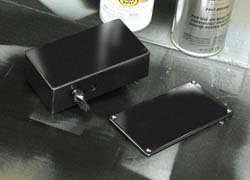
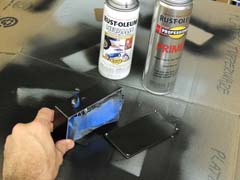
2. Spray the outside of the enclosure and lid with a gray metal primer to help your paint stick. Let dry a few hours.
3. Spray your pedal color with a good spray paint meant for metal or automotive paint. A color similar to the background color of your art will look best. Use glossy or semi-gloss satin, not flat paint. I spray 5-6 even coats to get a good smooth surface. Be sure not to spray too close and avoid drips. Let paint dry an 20 minutes or so between coats. I spray outdoors in the sunlight to get a fast dry time. If you get a drip, let the paint dry and then sand the drip down with a 300 grit or finer sandpaper. Repaint to cover the sanded area. Very important - let paint completely dry for at least 24 hours.
 ...
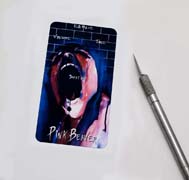
...4. Here is my art placed over my templates and printed out on the t-shirt transfers described above. I used a cheap Epson inkjet printer.
5. Cut the transfer print out right to the edge of the art. Don’t worry about the holes for the knobs yet, or if you created a template with holes mark, you can go aheard and cut them out. Use a hobby knife and a ruler unless you are really good with scissors. You may need to make a template for the top of the pedal before you do this to be sure your art will fit. If you do use a template, you may cut out the holes for the knobs, jacks, or switches at this point, but I ususally wait until I have applied the tranfer to the enclosure box. Also, if this is your first time, I highly suggest you print the art on plain paper first and test to be sure your art lines up on the pedal correctly before you print and cut the actual transfer.
6. Peel the paper backing off the transfer. The actual transfer is a very thin plastic film. Position the transfer on the pedal and press down starting from one end to the other, pressing out any air bubbles as you go. Be sure to press out all air bubbles, if possible. It is very wise to heat set the transfer to the enclosure at this point so that is has a bond to the surface. Heat the surface with a hair dryer, very close, for a few minutes. Put a piece of paper over the transfer and press down all across the surface. You can also use a clothing iron to heat set, but you may risk melting the transfer if you are not careful. If you do use an iron, use a low heat and put paper in between the transfer and iron. Iron no more than 10-15 seconds, alwasy moving the iron. The colors may look like crap at this stage, but don’t worry.


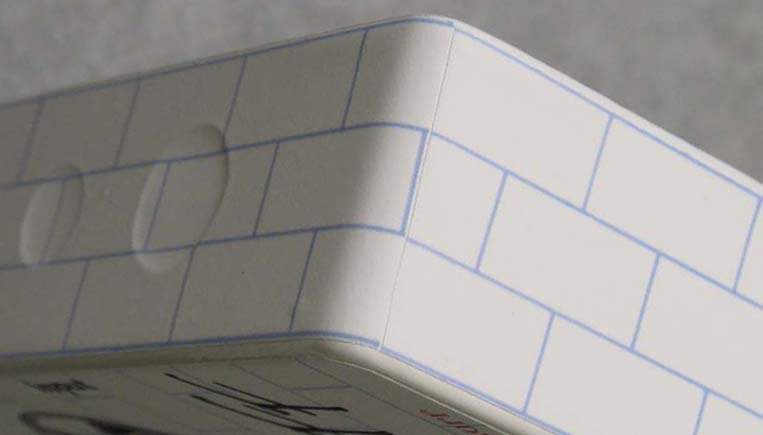
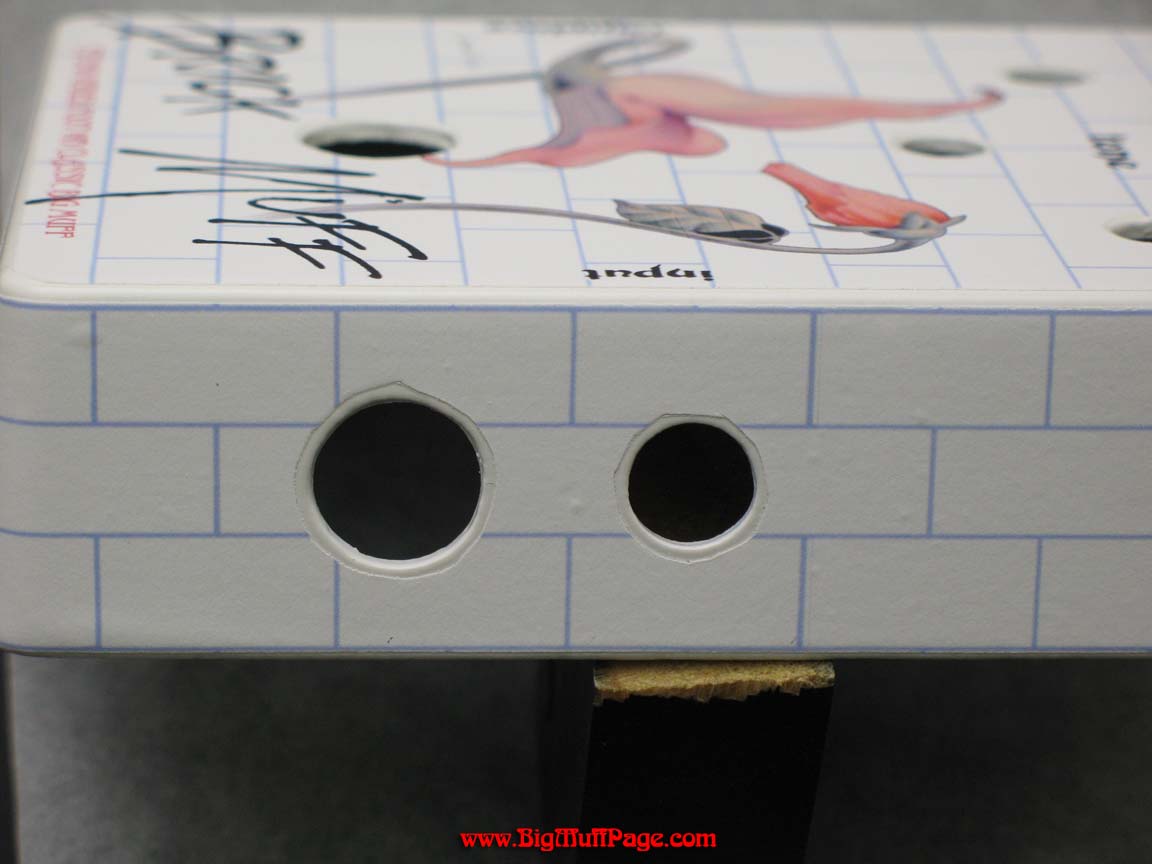
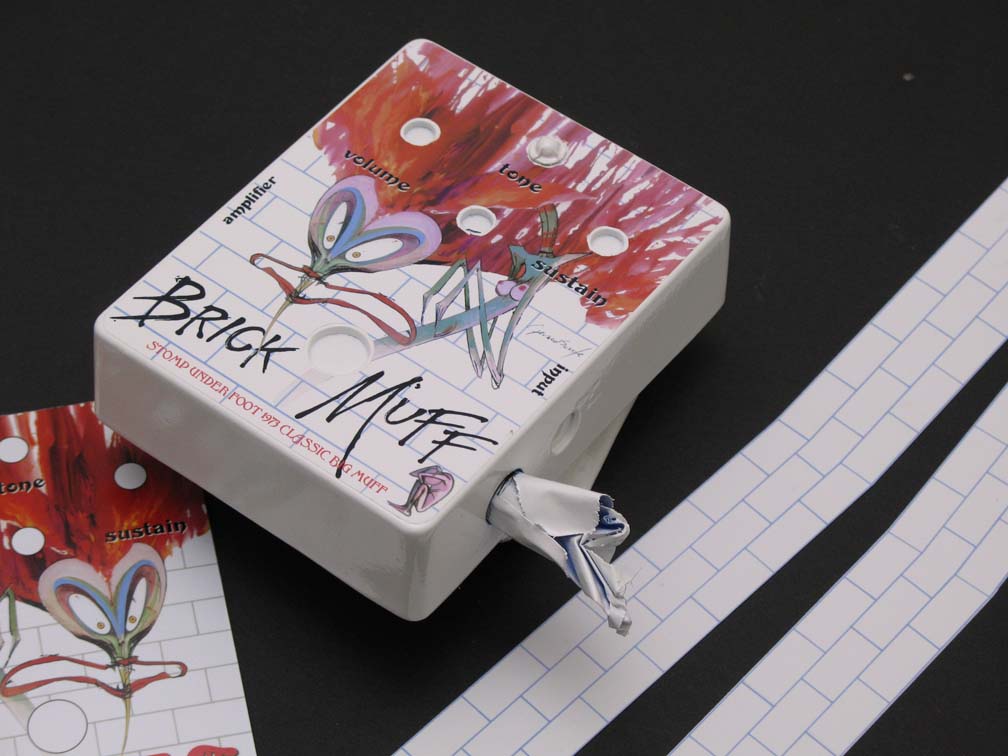
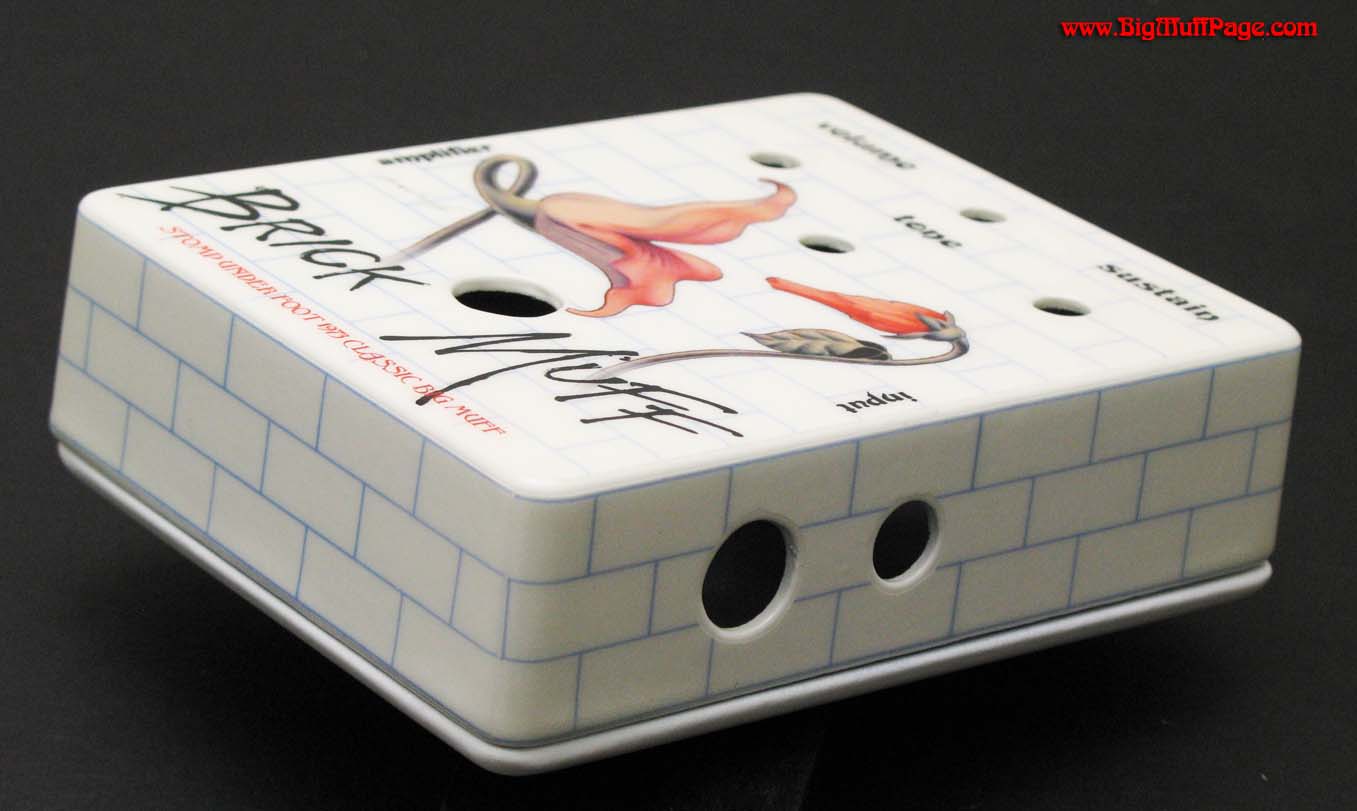
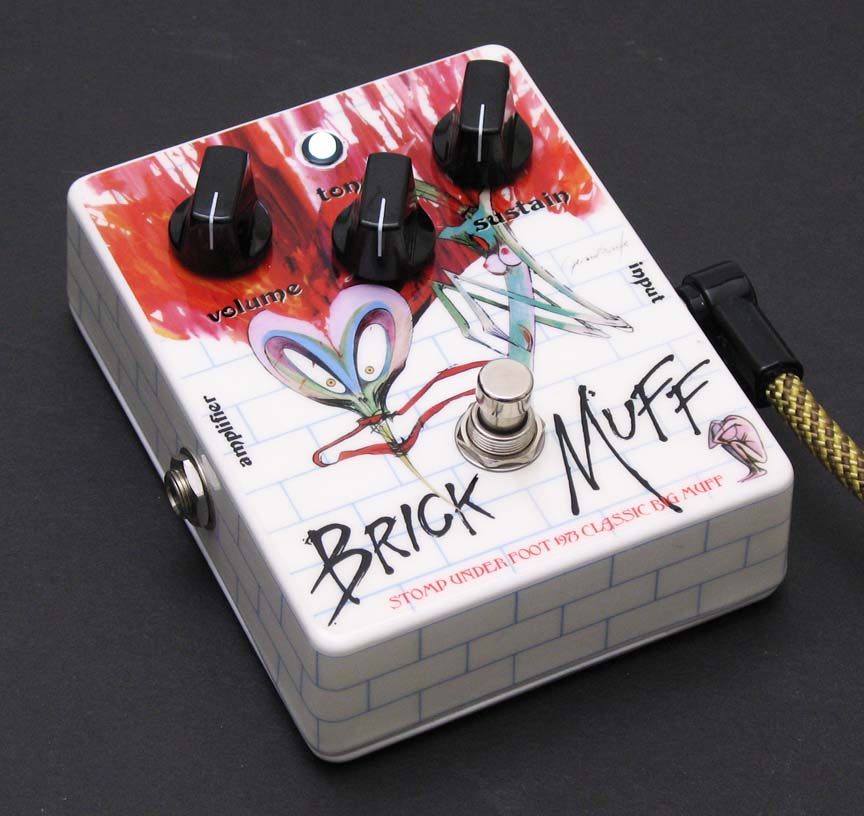
This pedal will have art on the sides and top. I cut out two separate printed transfers of brick art to wrap the sides. You can see where I joined the transfers together in the photo to the right.
7. With a hobby knife or razor blade, cut out the holes in the top (if you have not already). If you can't tell where the holes are, press you fingers in the surface of the transfer to make a dimple over the holes. Cut just outside the hole area, no more that 0.5mm (1/32") from the edge.

 ...
...
8. Spray the enclosure and lid with a good gloss or semi-gloss clear coat. I use high gloss furniture spray laquer. Almost all clear coats are going to act as a solvent to the transfer film due to the chemicals in them, so you may see a few bubbles appear in the transfer after the first coat (you can see the bubbles in the photo below, on right). Your clear coat may also look foggy and transluscent white. Don’t panic! This is normal and will disappear after drying. Spray about 10-15 coats, letting each dry about 30 minutes in between. The thick clear coat should cover any bubbles and hide them. If you see very large bubbles, blister sized or larger, either the transfer was not bonded firmly to the enclosure by heat, not pressed down hard enough, or the clear coat you are using is not compatible with the transfer material and is chemically breaking it down.
The more clear coats, the better, for a stronger, more chip resistant finish. I spray about 15 coats on my pedals, giving about 5 minutes to dry between coats. When done, let the whole thing completely dry at least 24 hours. The clear coat should deepen the colors and make everything look more vibrant when dry.
 ...
...

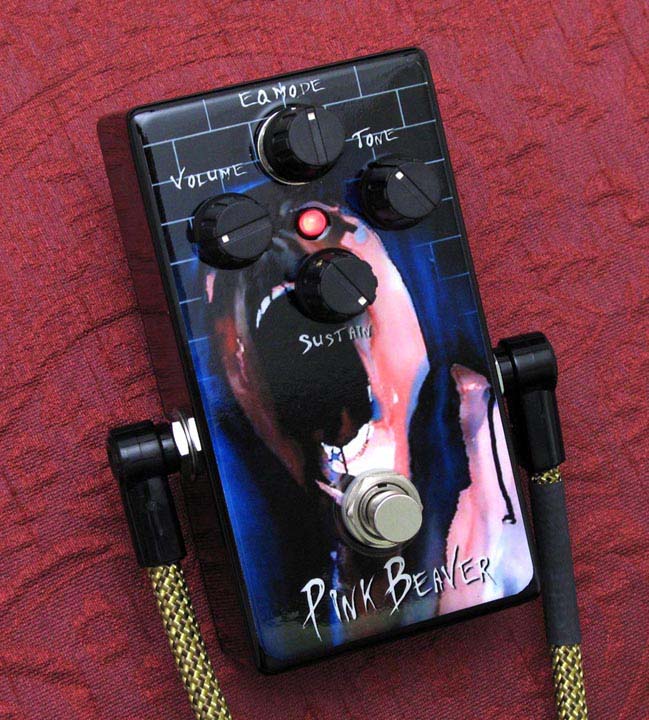
9. Re-assemble, plug it in and play!
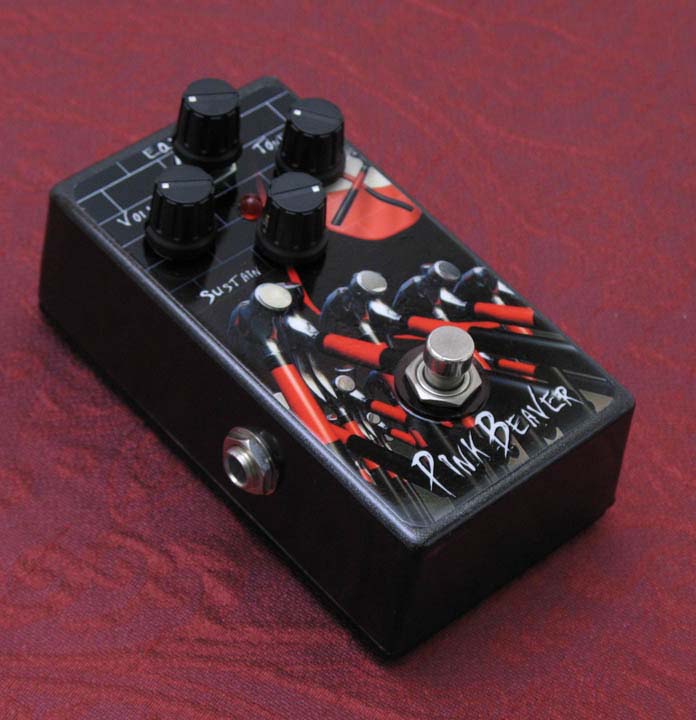
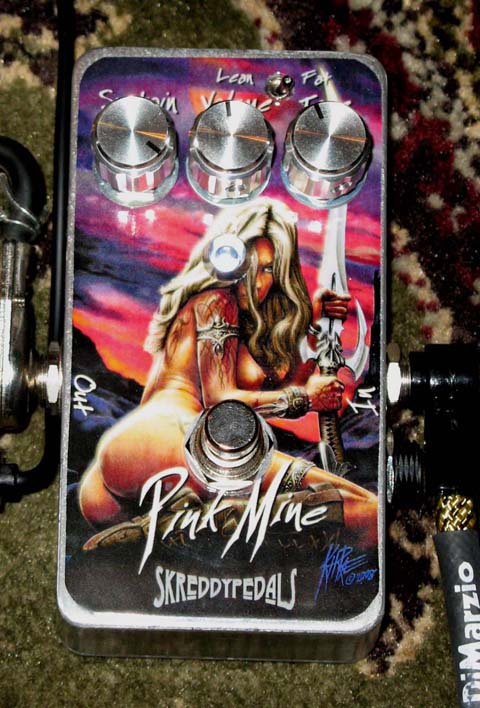
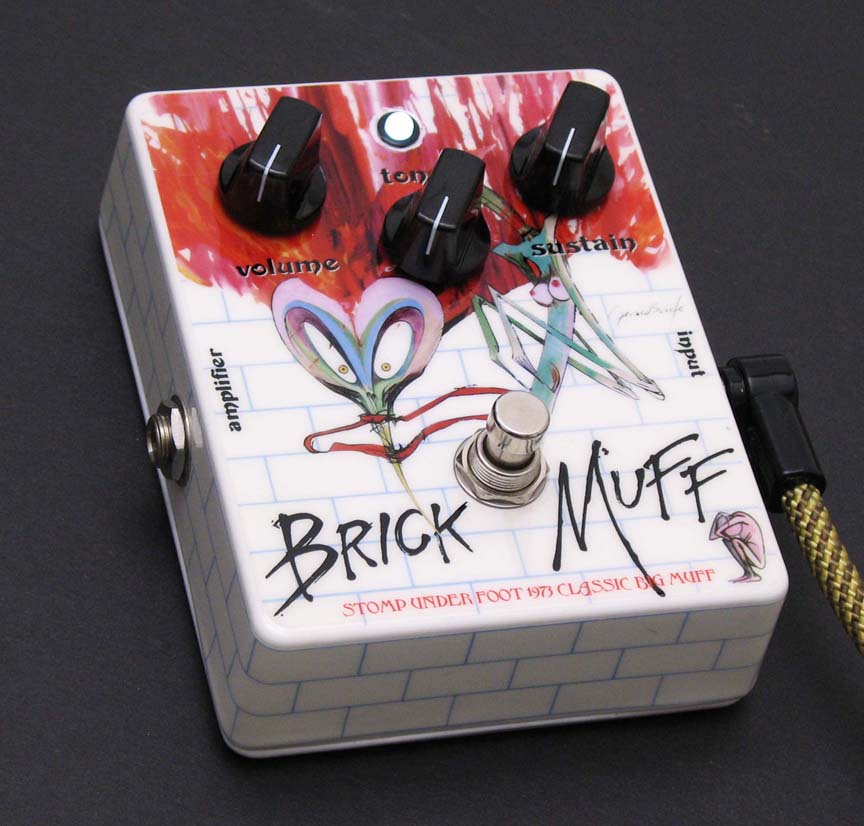
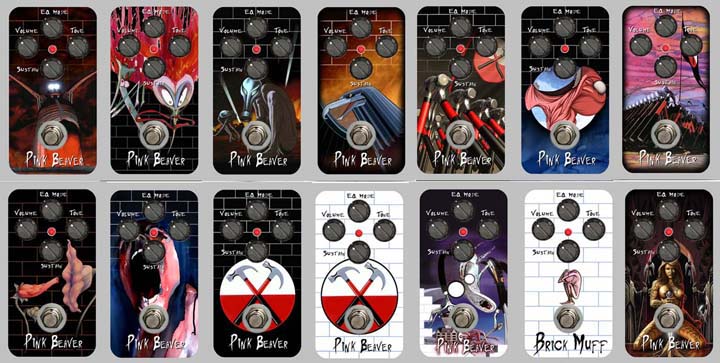
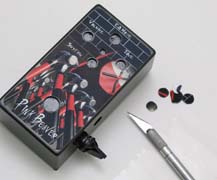
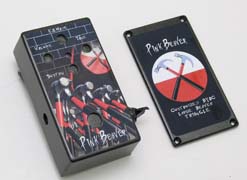
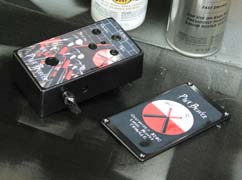
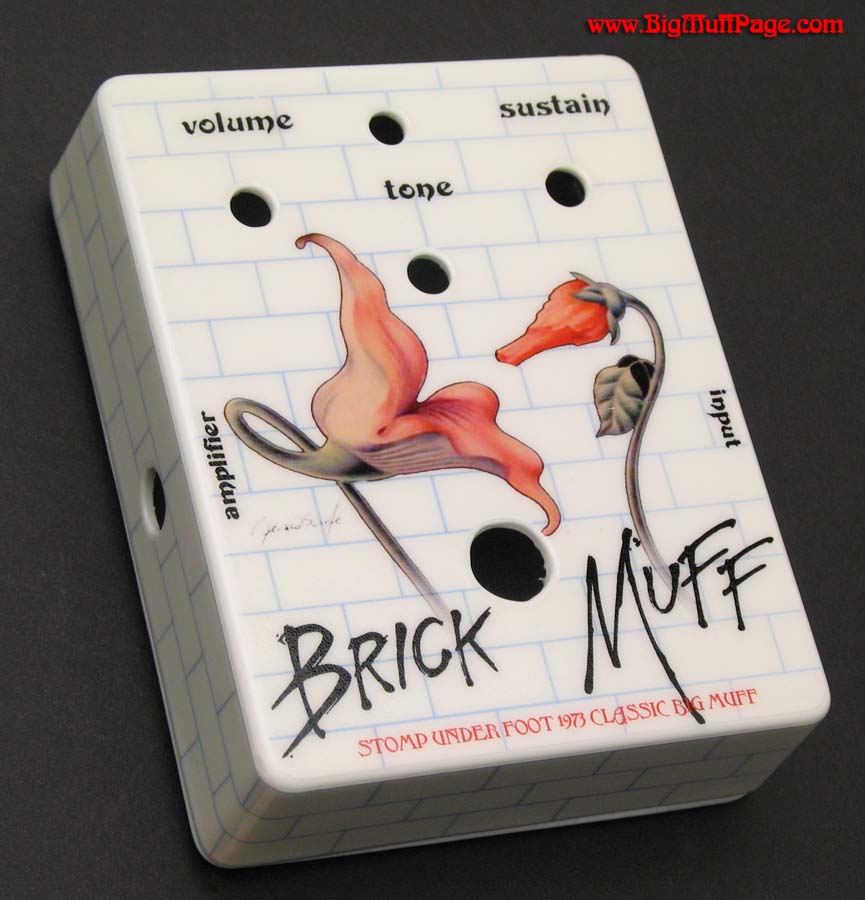
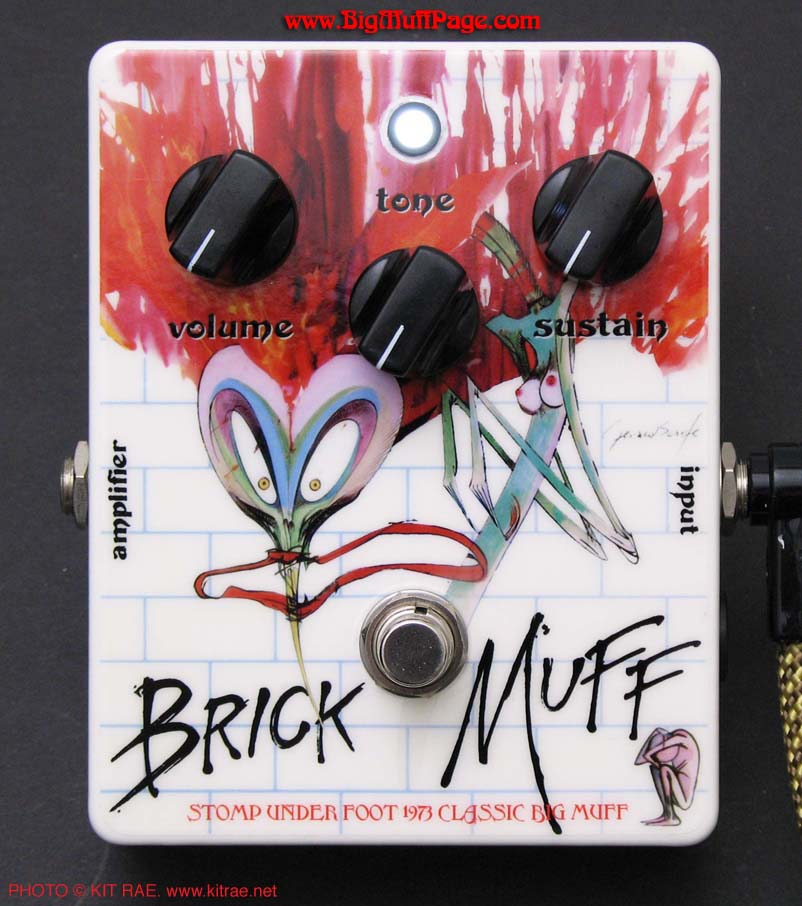
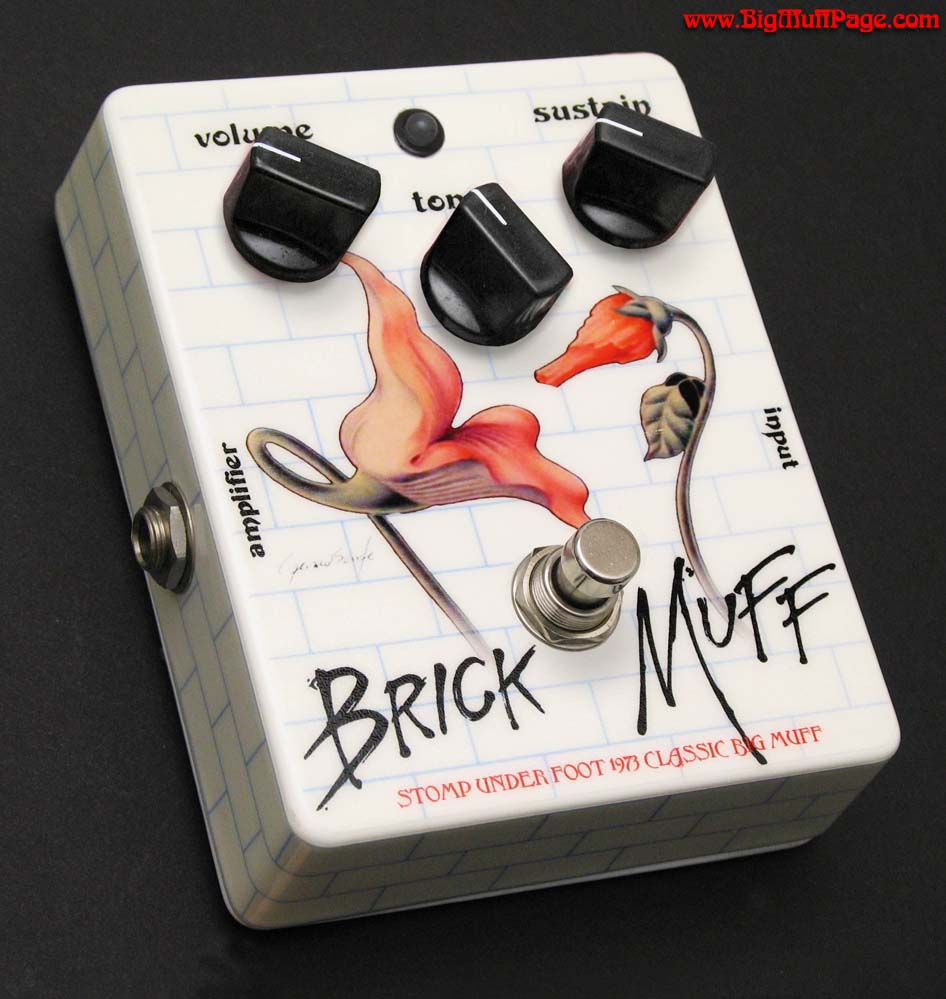
I suggest you print a practice transfer and test doing it on something else first if you have never done any thing like this. If you screw it all up the first time, just peel it off, sand it down and start over. I was lucky and got it right on the first try. Below are a few of my custom pedal graphics jobs. The two Brick Muff pedals feature art on every panel of the enclosure, created with a separate transfer custom cut to fit each panel. And I will restate, NO, I do not add art to pedals for other people or offer this service.
CONTROL KNOBS - If you want some different or better looking knobs for your pedal to make it more unique, try jameco.com or mouser.com.
Page is copyright Kit Rae. Art used on pedals is copyrighted by the owners.