NOTE: This website is frequently updated. Last update July 2024
LATEST UPDATES - Video added in July demonstrating David's late 1988 lead tone. Video added in May demonstrating David's late 1980s Rat tone. Videos added in April demonstrating David's 1980s Boss HM-2 and Big Muff + Mesa/Boogie tones below. I finally completed the 2015/16 Tour/Live at Pompeii section in August 2023, hopefully with everything you ever wanted to know about David's live rig, signal chains, and guitar tones. Isolated Gimour guitar sound clips and signal chains added to the Delicate Sound of Thunder page and isolated guitar clips added to the Knebworth 1990 page in September 2023.
LATEST SOUND CLIPS AND VIDEOS
Instrumental video demonstrating David's 1988 Big Muff live tone
Deep in the Blues Jam - Instrumental video demonstrating Gilmour's Rat tone from 1988
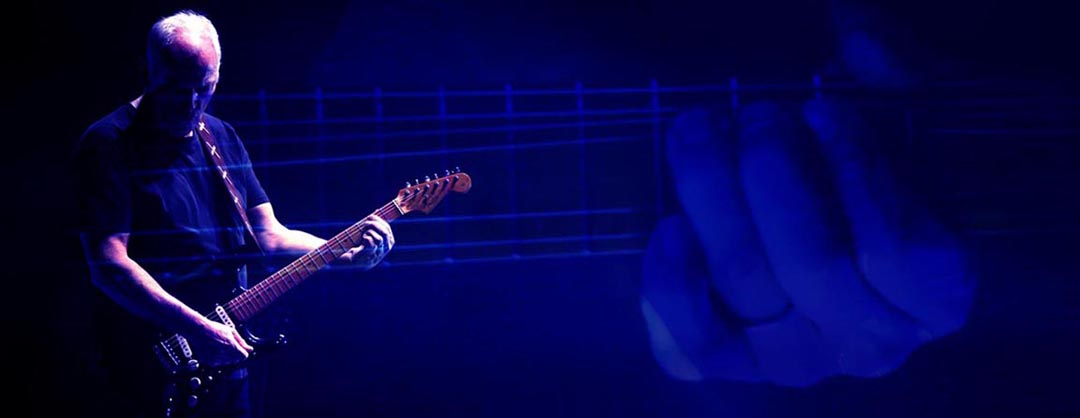
DAVID GILMOUR TONE BUILDING - This website is about the guitar tones of my favorite guitarist, David Gilmour of Pink Floyd. What do each of the pedals David Gilmour used do and how do you set them to get similar Pink Floyd tones? Which pickups, amps, and speakers work best for those tones? Here is a general guide to the gear and how to get many of the various tones throughout Gilmour's career. There are audio clips demonstrating building basic Gilmour tones using some of the same gear he used, designed to show what each individual piece of gear contributes to the sound. This is not a comprehensive song-by-song or album-by-album list by any means, just a general guide based on my research, and a deep dive into some of my favorite Gilmour tones. I also highly recommend you look at The Tone from Heaven website for some excellent information on David's 1994 and 2006 tour rigs and his Pete Cornish rigs. Gilmourish.com is another great resource with a comprehensive album-by-album gear guide, detailed reference in areas not covered here, and some great gear articles and reviews.
PICKS and STRINGS - String Gauges and Picks
STRATOCASTER SETUP - How to set up your Strat to work best for Gilmour style playing and tones
SIGNAL CHAIN ORDER - A general guide to the signal chain order for effects in a Gilmour style rig
WHAT TYPE OF AMPLIFIERS TO USE - Amps that work best for Gilmour tones
WHAT TYPE OF SPEAKERS TO USE - Speakers that work best for Gilmour tones
DAVID'S EARLY PINK FLOYD SOUND - Replicating David's Selmer amp tone used in the early Pink Floyd
ROTARY SPEAKERS, DOPPOLAS, AND THE RA-200 - David's rotary speaker cabinets and pedals that mimic the sound (coming soon)
GILMOUR'S INTEGRATED EFFECTS PEDALBOARD DESIGN - An article about Gilmour's early pedalboard design
DEALING WITH BIG MUFF NOISE - How to handle the hiss from these noisy high gain pedals
LINKED INPUTS - How to link Hiwatt inputs
AMP SETTINGS - Hiwatt and Fender amp settings
GILMOUR'S HIWATT SETTINGS - Gilmour Hiwatt settings from the 1970s to modern day
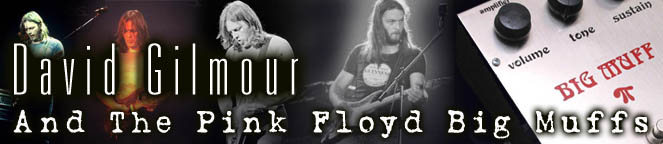
GILMOUR'S BIG MUFFS - An article About the various versions David has used
TUBE DRIVERS - An article bout the various versions David has used
POWER BOOST and OVERDRIVER - An article bout the Colorsound pedals David has used
DELAY / ECHO - Using delay and delay time settings
DELAY TIME LIBRARY - A song-by-song list of delay times used by David Gilmour
EMG DG-20 SA and Single Coil Pickups - Sound clips to illustrate the tone differences
ALBUM AND TOUR ARTICLES
1973 Dark Side of The Moon - The effects used and sound clips
The Guitar Tones of Comfortably Numb - The effects used and sound clips
1984 and About Face - The effects used and sound clips
1984-1986 Session Work - The effects used and sound clips
1987 A Momentary Lapse of Reason - The effects used and sound clips
1987-89 Delicate Sound of Thunder / AMLOR Tour / Venice Concert - The effects used and sound clips
1990 Knebworth Concert - The effects used, sound clips, signal chains
1988-1992 Session Work and Live Performances - The effects used, sound clips, signal chains
1994 Pulse / Division Bell Tour - The effects used, sound clips, signal chains
2006 On An Island / Remember That Night / Live in Gdansk - The effects used and sound clips
2014-2015 Endless River / Rattle That Lock - The effects used and sound clips
2015-2016 RTL Tour / Live at Pompeii - The effects used, sound clips, signal chains

 ....
.... 
Backing Tracks - A selection of backing tracks for practice to play along with or record covers
The Workmate Esquire - An article on David's Fender Esquire that he calls the Workmate
The Electric Mistress and Big Muff Pi - The perfect combo for The Wall and Final Cut tones
Boosting a Big Muff - How to use an overdrive pedal to drive and EQ your Muff
Building a Pedalboard - A blog about building my all-eras Gilmour/Pink Floyd pedal board
NOTE - I have listed the gear and settings I use in most cases, for reference, but note that the tones may not exactly match your rig, depending on which amplifier and speakers you use, your guitar, pickups, and fingers.
I love Dave’s guitar solos on DSOTM and on WYWH and on Animals and on The Wall and on The Final Cut. In my, albeit biased view, Dave’s solos on those albums constitute a collection of some of the very best guitar solos in the history of rock and roll. - Roger Waters on Twitter in 2023
Kit’s Secret Guitar, Gear, and Music Page
Guitar stuff, gear stuff, soundclips, videos, Gilmour/Pink Floyd stuff, photos and other goodies.
Copyright Kit Rae.
VISIT MY SWORDS, KNIVES and FANTASY ART WEBSITE www.kitrae.net