Kits Secret Guitar, Gear, and Music Page
Guitar stuff, gear stuff, soundclips, videos, Gilmour/Pink Floyd stuff, photos and other goodies.
Copyright Kit Rae.
VISIT MY SWORDS, KNIVES and FANTASY ART WEBSITE www.kitrae.net
CUSTOM PEDALBOARD PROJECT - Part 2
Article written in 2018
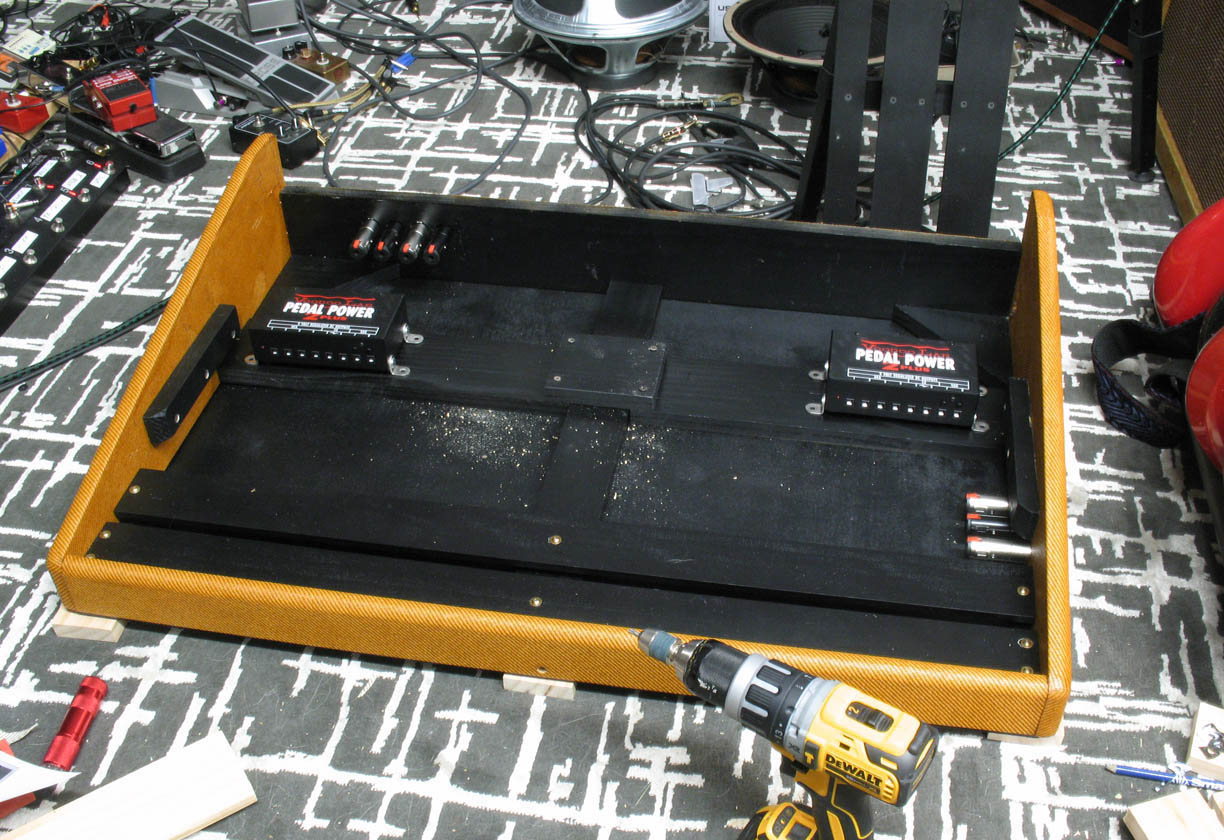
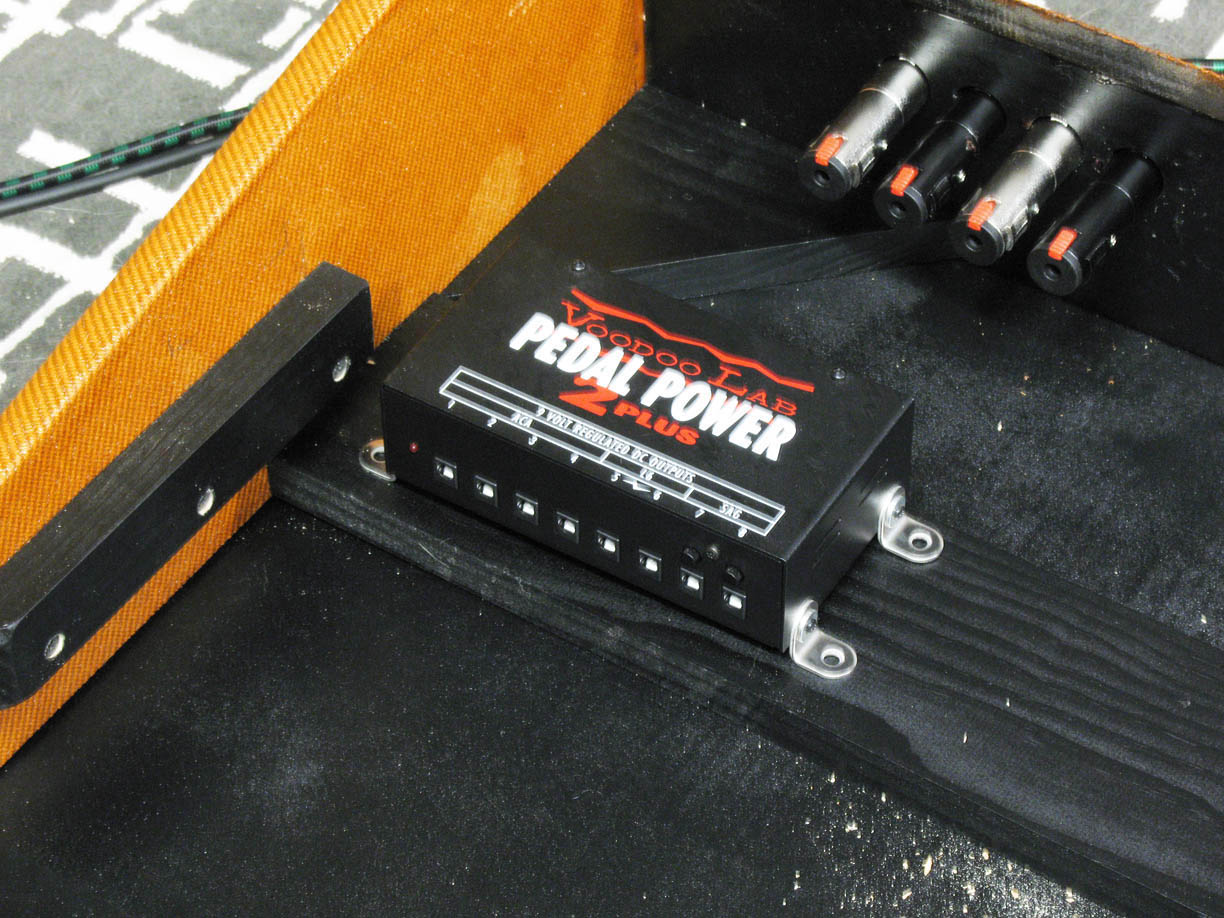
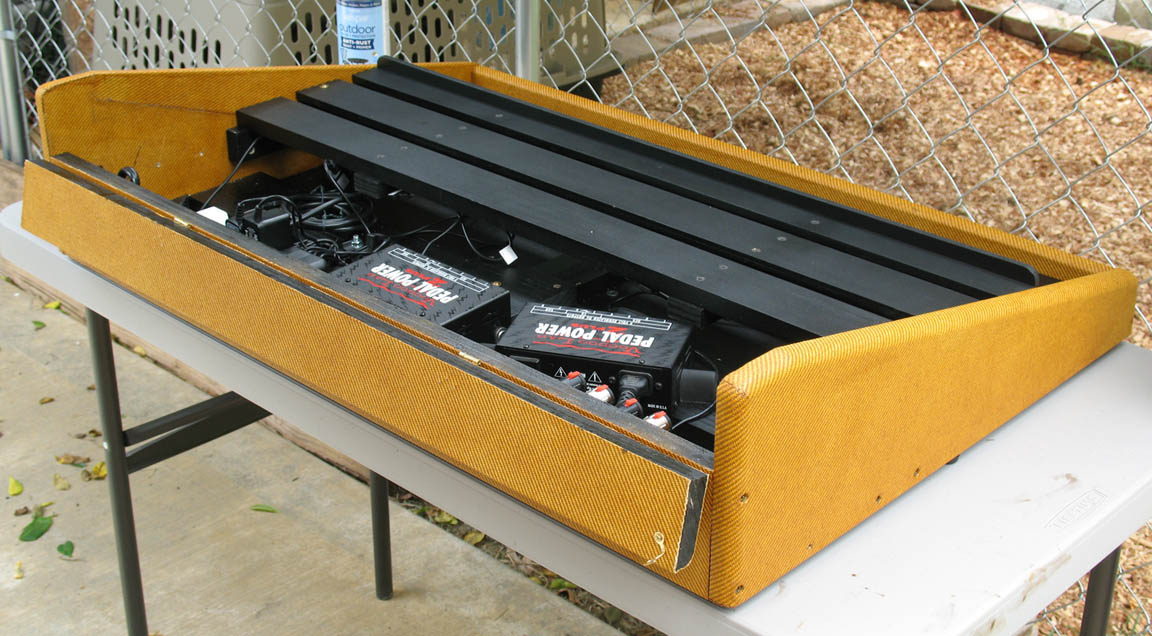
shown above - test fitting and pre-drilling holes for the Voodoo Lab power supplies
June 20th, 2018 - I needed some small L brackets to bolt the Voodoo Labs power supplies to the support boards. My local hardware stores did not carry any that small, but I found them cheap on Amazon.com. I test fit and pre-drilled holes for the brackets. Unfortunately the holes were too large for the tiny Voodoo Labs screws, so I used washers with smaller holes, which in turn made the screws too short to screw into the Voodoo Labs case. I just barely got them attached by a few threads.
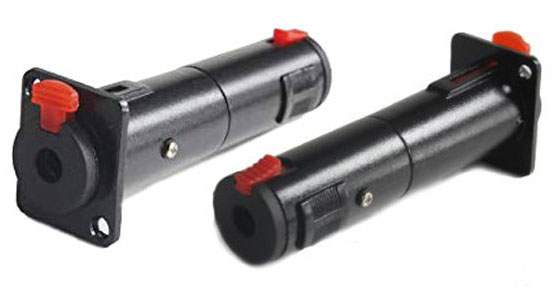
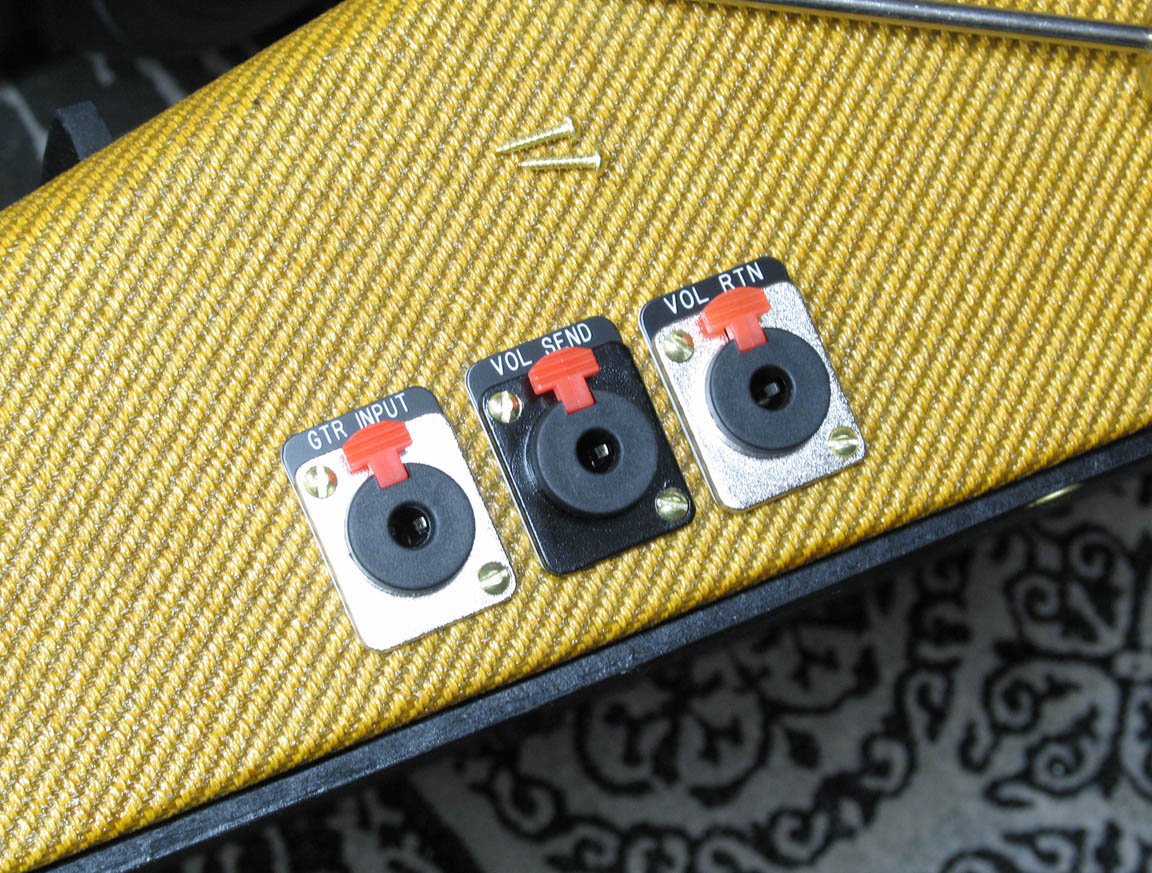
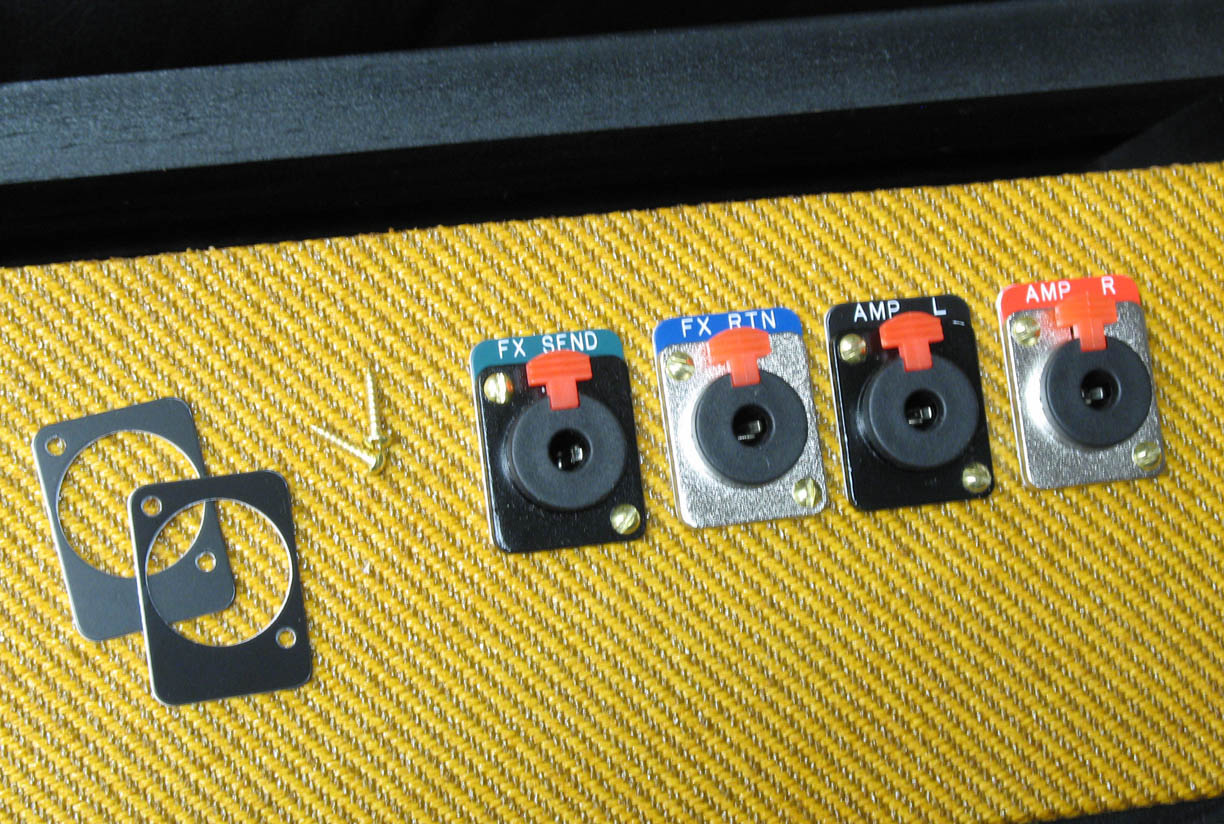
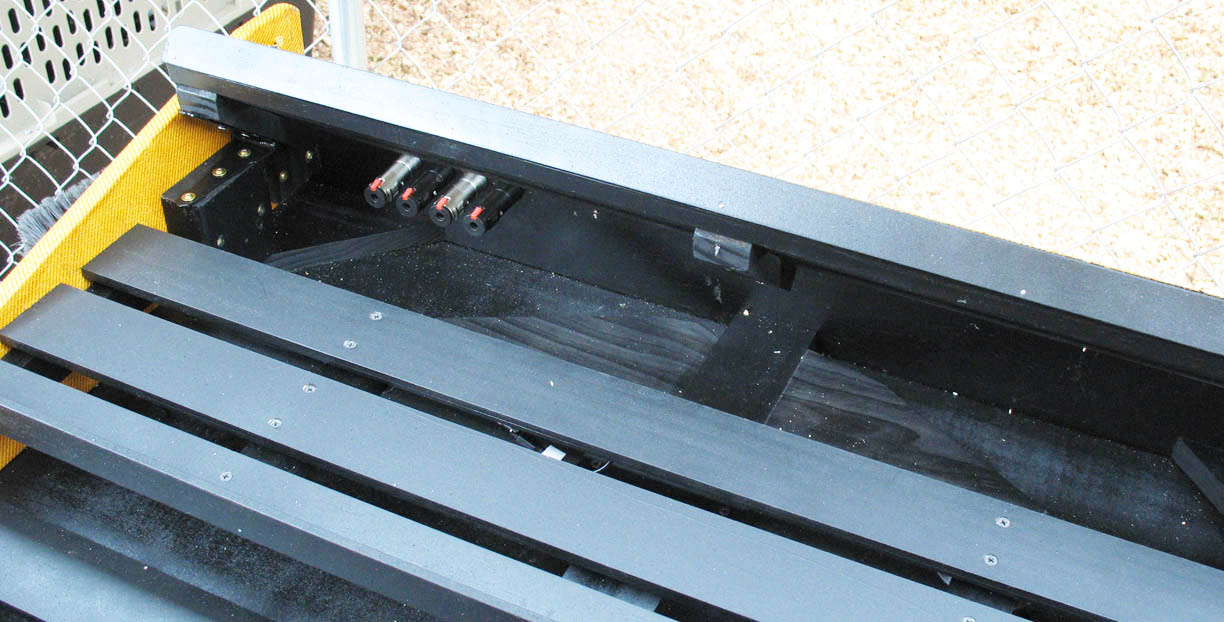
shown above - installed 1/4" solderless jacks and custom jack plate labels
June 21st, 2018 - I wanted all the jacks to be modern locking solderless jacks. I found 1/4" chrome and black jacks for about $8 each from Blackbird Pedalboards. Most other places sold them for double that. I found custom jack plate labels on Redco.com. They come in a variety of colors with custom labeling for about $2 each. I installed the jacks and labels on the side and rear of the cabinet with some small brass Fender pick cover screws. I got a few extra blank jack plate labels just in case I want to add additional send/return jacks in the future.
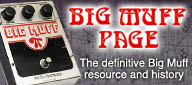


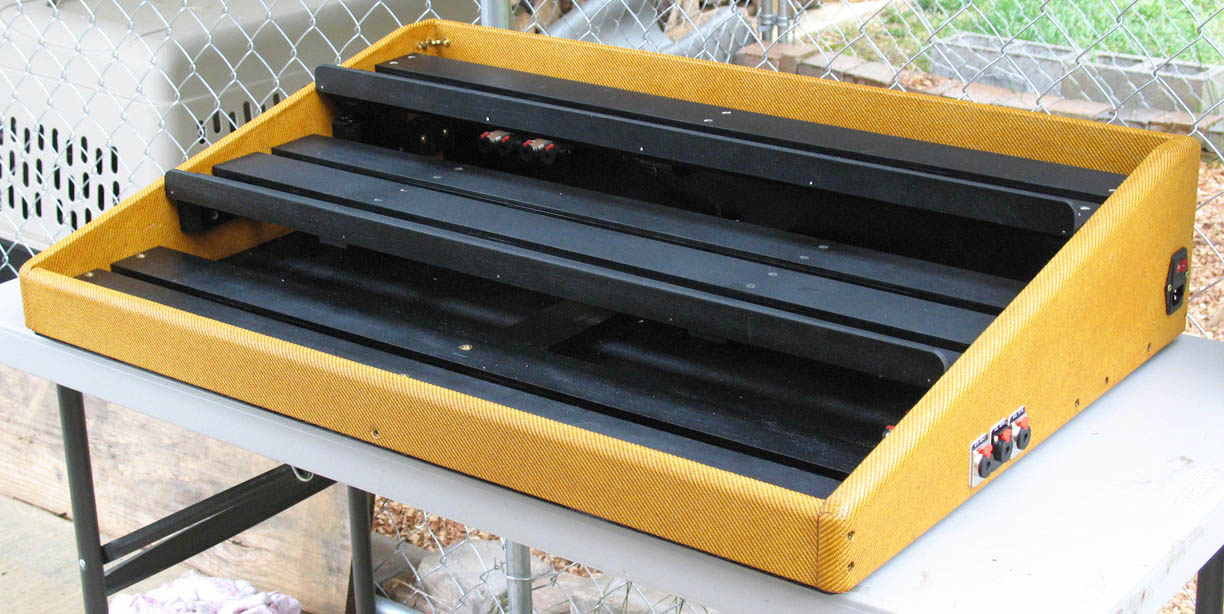
shown above - Assembled back shelf with hinges
June 24th, 2018 - Next I assmbled the wood shelves and assembled the hinges and support blocks to the back shelves for a test fit. The sides of the shelves were a bit too tight and rubbed against the inside of the box, so I had to do a bit of sanding to reduce the shelf width. Only the back shelf was to be hinged for electronis and wiring access, but I think I will hinge the center shelf as well.
shown above - test fitting the shelves
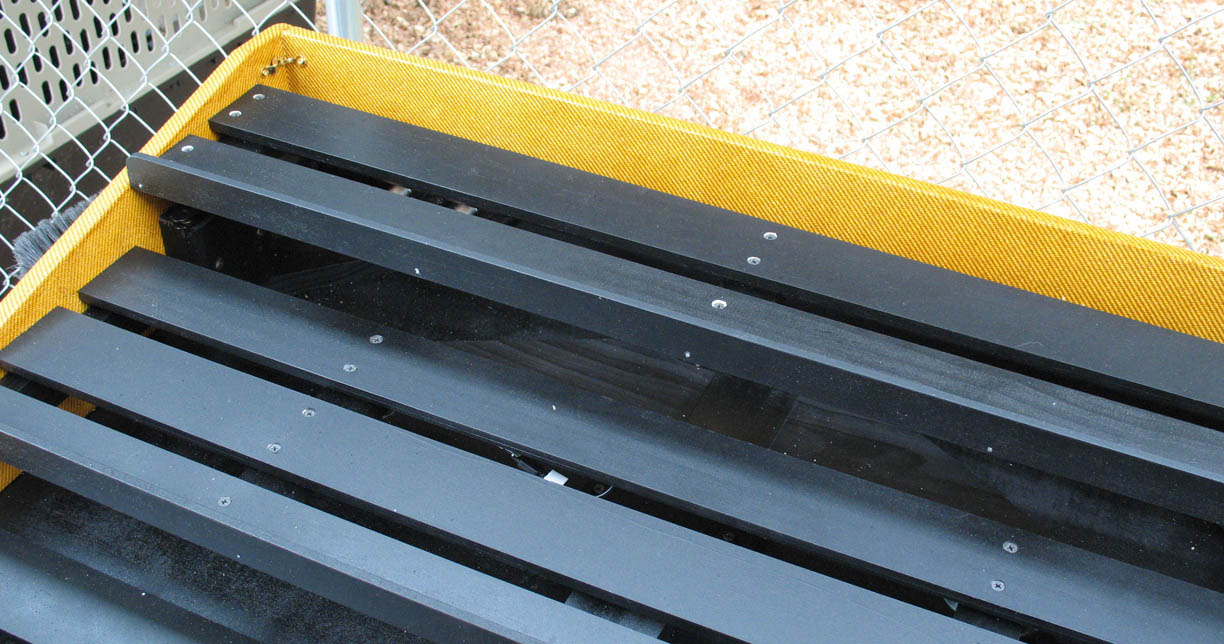
shown above - test fitting the shelves

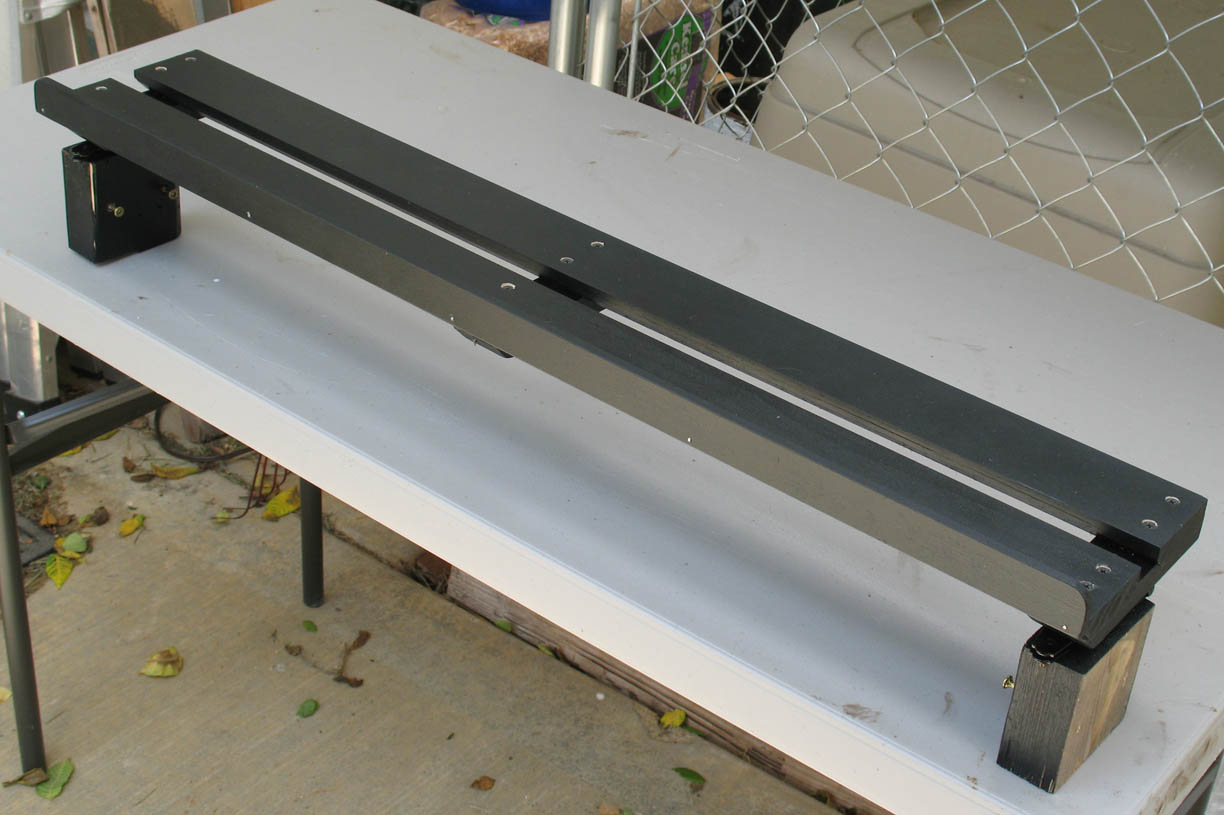
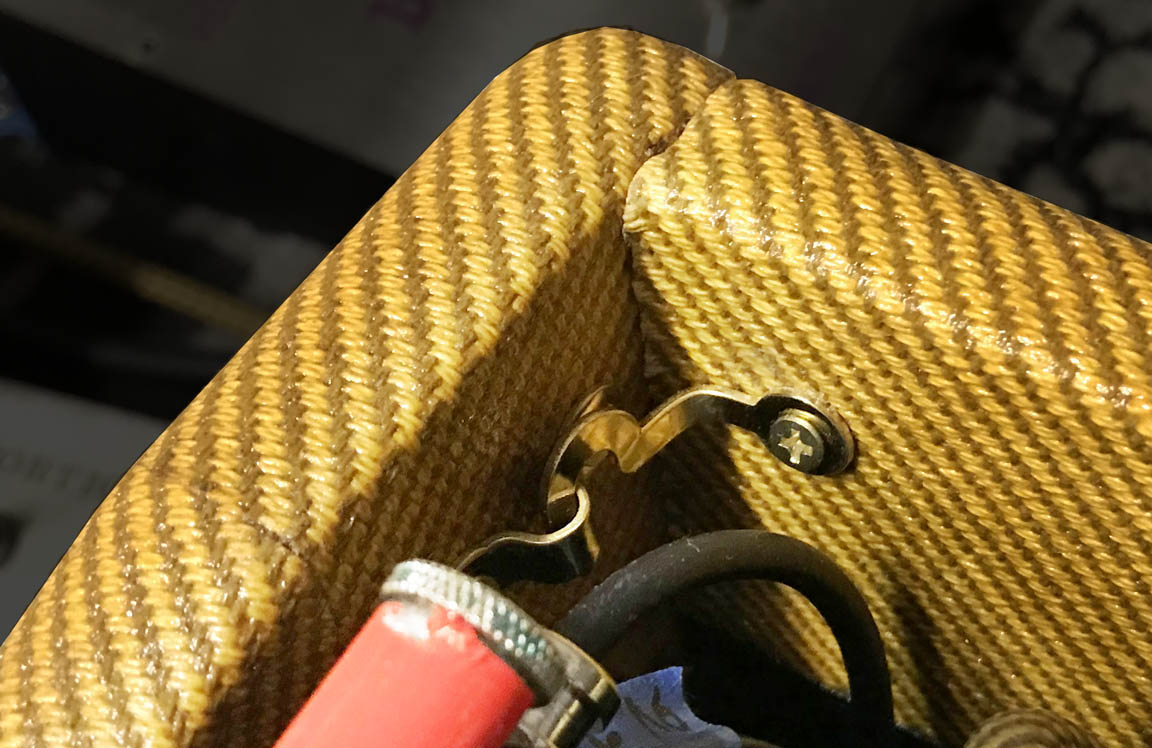
shown above - hinges installed for fold-down back wall
June 25th, 2018 - I need extra access to the back area where the power supplies will be located so I designed it with a fold-down back wall. I added the hinges and a latch today. I used a cheap brass latch from Lowes and bent it 90 degress to go around the inside corner. Works great.
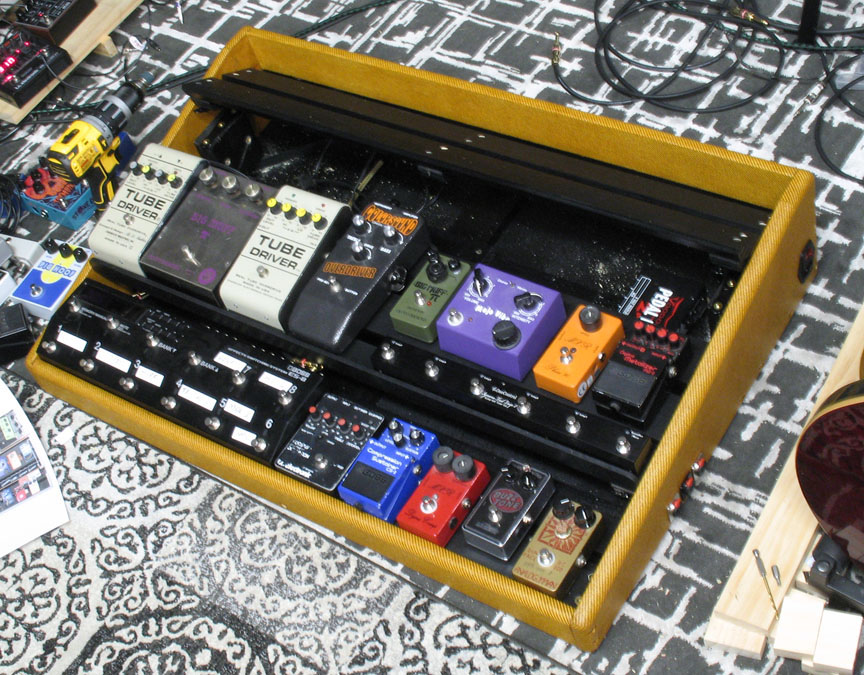
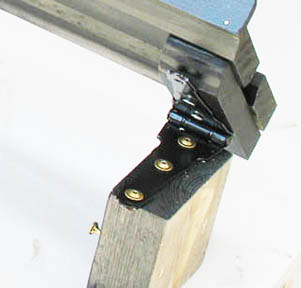
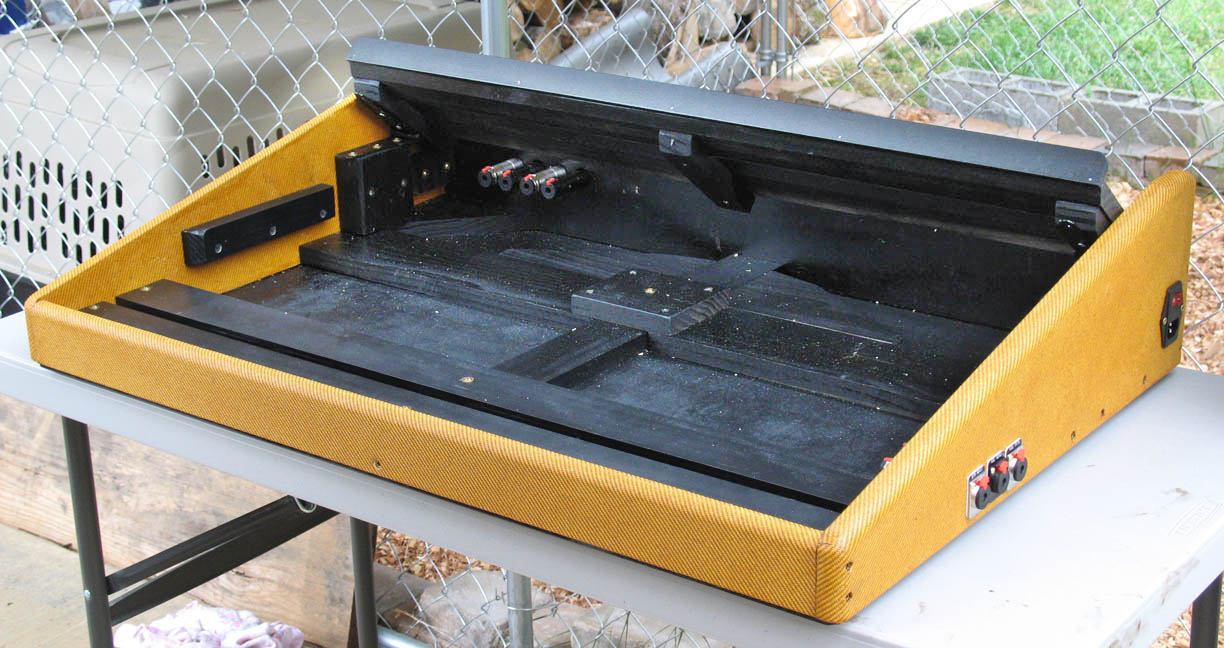
shown above - brass latch to secure the fold-down back wall and test fitting the pedals
June 22nd, 2018 - I did some test fitting to be sure I had enough clearance for the pedals and jacks before permanently mounting the shelves. I thought I had enough room for the Colorsound Overdriver, but it hits the hinged back shelf. The Voodoo Labs PP2 power supplies are also not fitting as I had hoped, so I need to do some more tweaking.

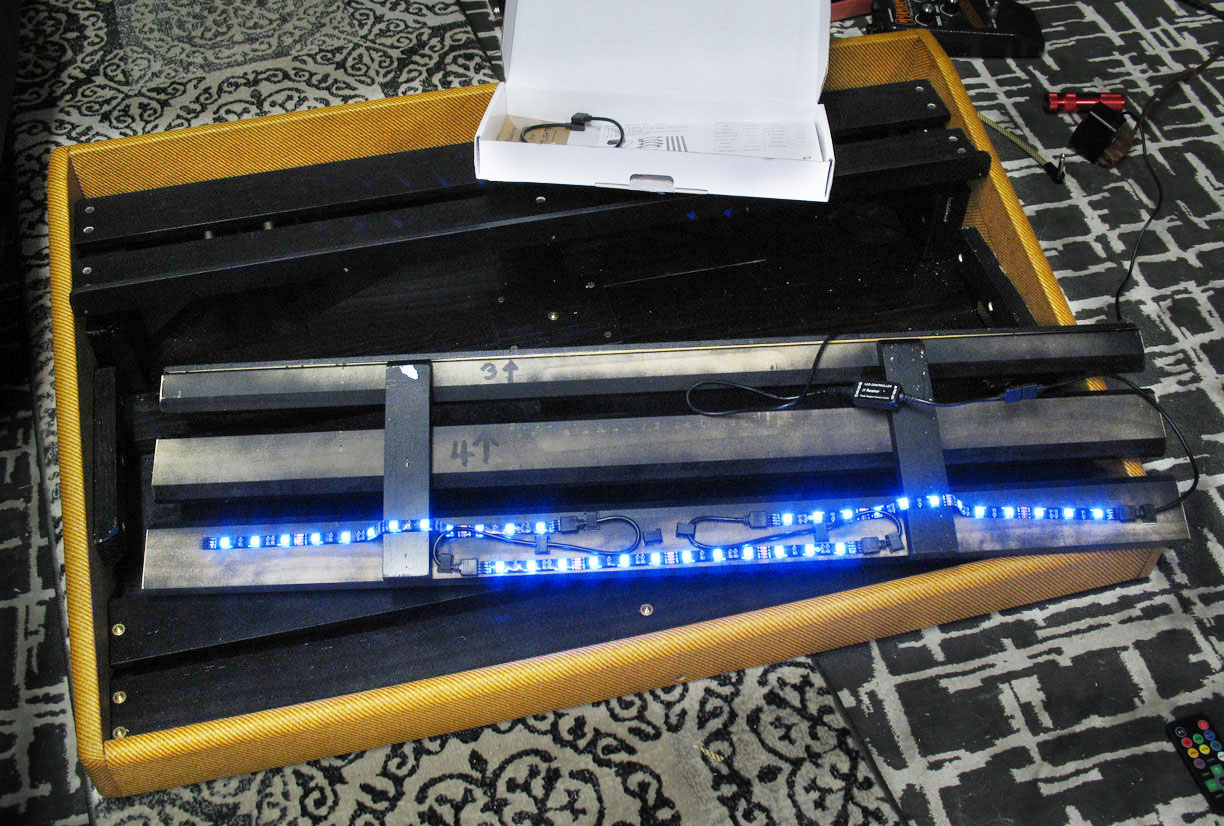
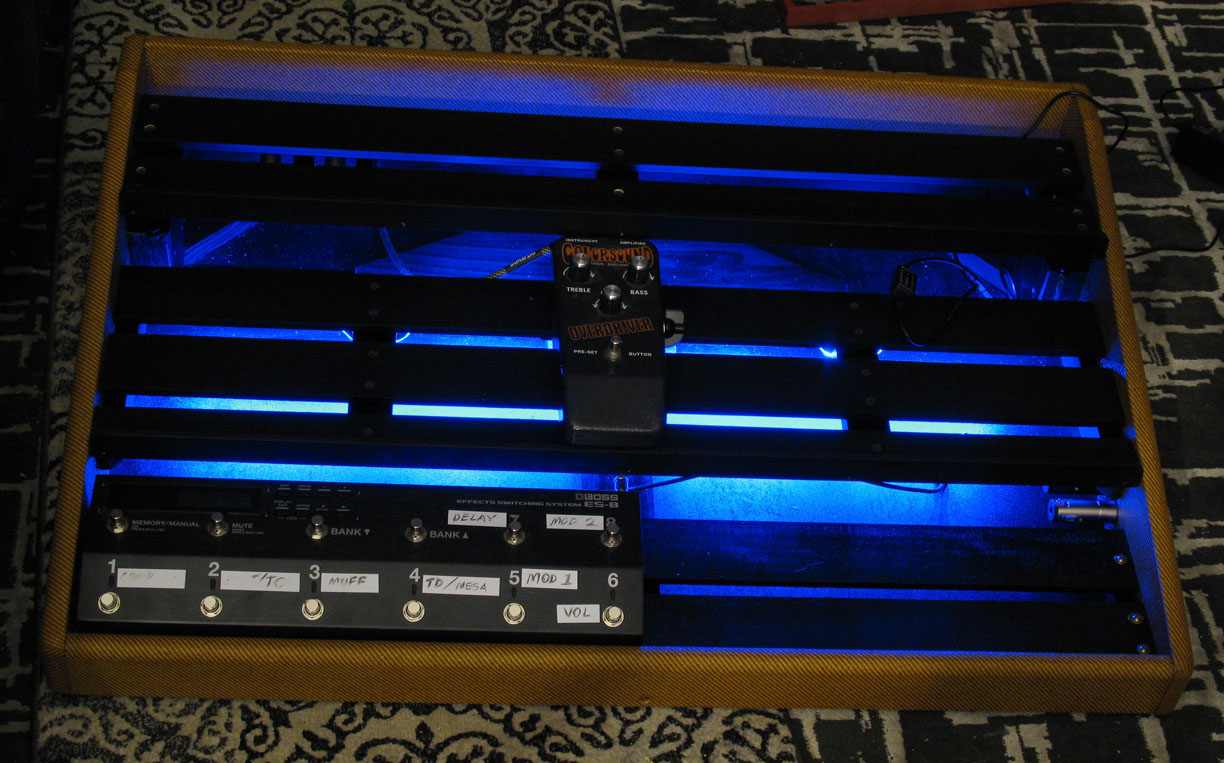
shown above - attaching multi-colored LED strips under the shelving
June 25th, 2018 - Having some illumination would help make wiring changes and fixes easier so I decided to add some under-shelf LED lighting. Amazon sells selectable, multi-color LED strips for about $17. The white color is very bright and makes everything underneath easy to see, but there is also a range of colors to choose from and a remote control. Some of the colors look cool, although I would probably never use them.
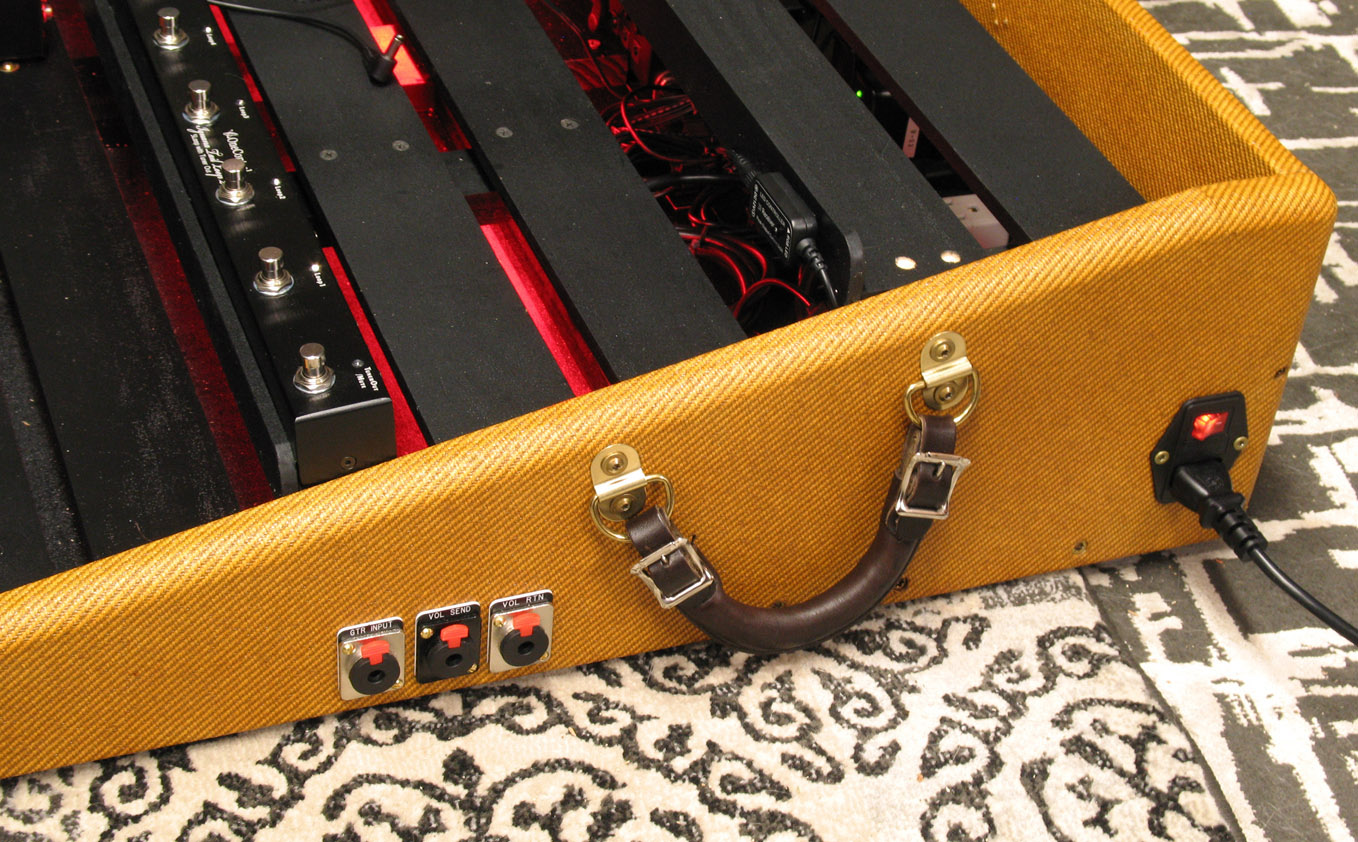
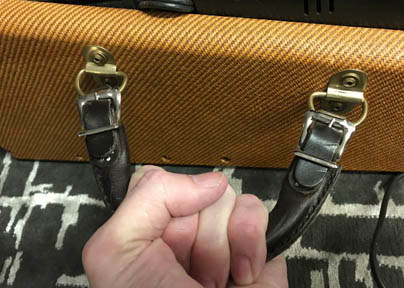
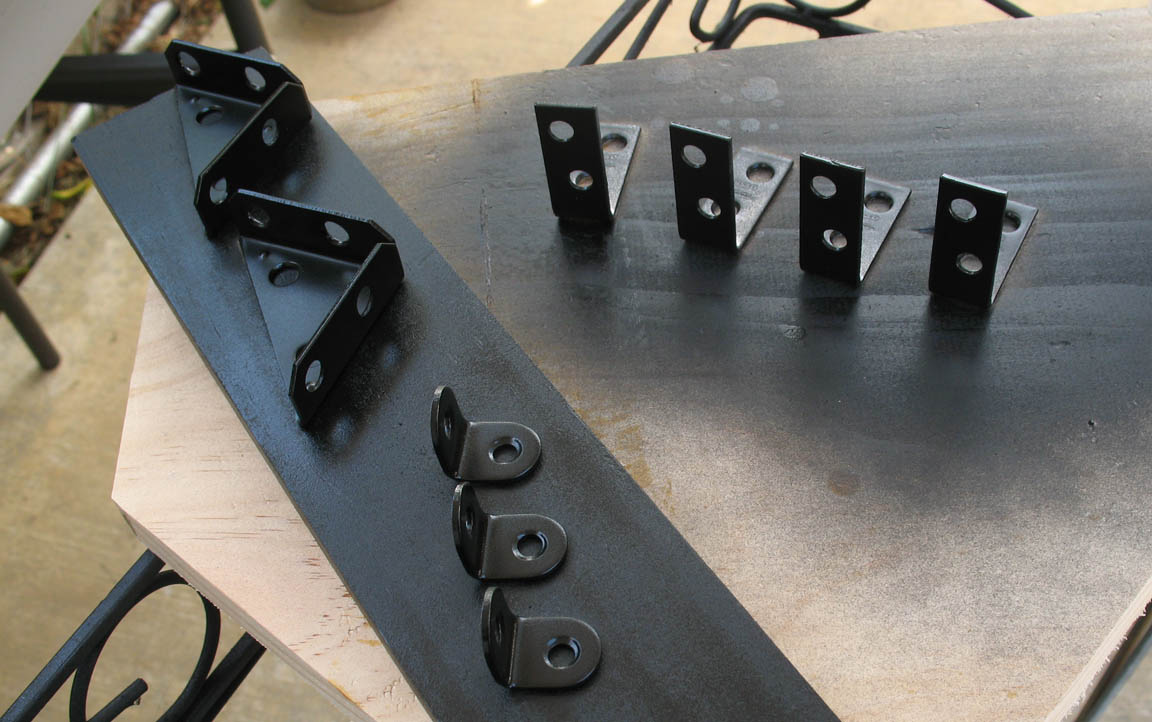
shown above - carrying handles attached and painting the mounting brackets
June 26th, 2018 - I looked around for some heavy duty replacement luggage or guitar case handle to mount on the side of the box to make it easy to pick up and transport. I found some leather handles I really liked on valuebeltsplus.com but eneded up ordering some brown leather replacement luggage handle from eaby instead because they looked very sturdy. I securely mounted them to the side panels with brass torx screws. I also painted some metal mounting brackes today that will be needed to secure the Boss ES-8 and the loop switchers to the shelves.
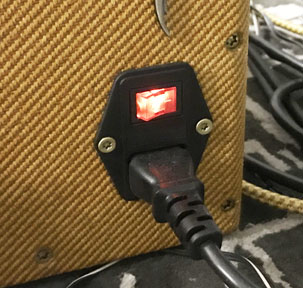
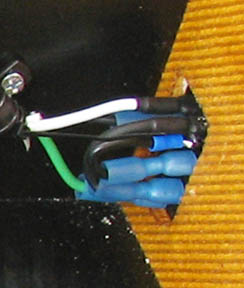
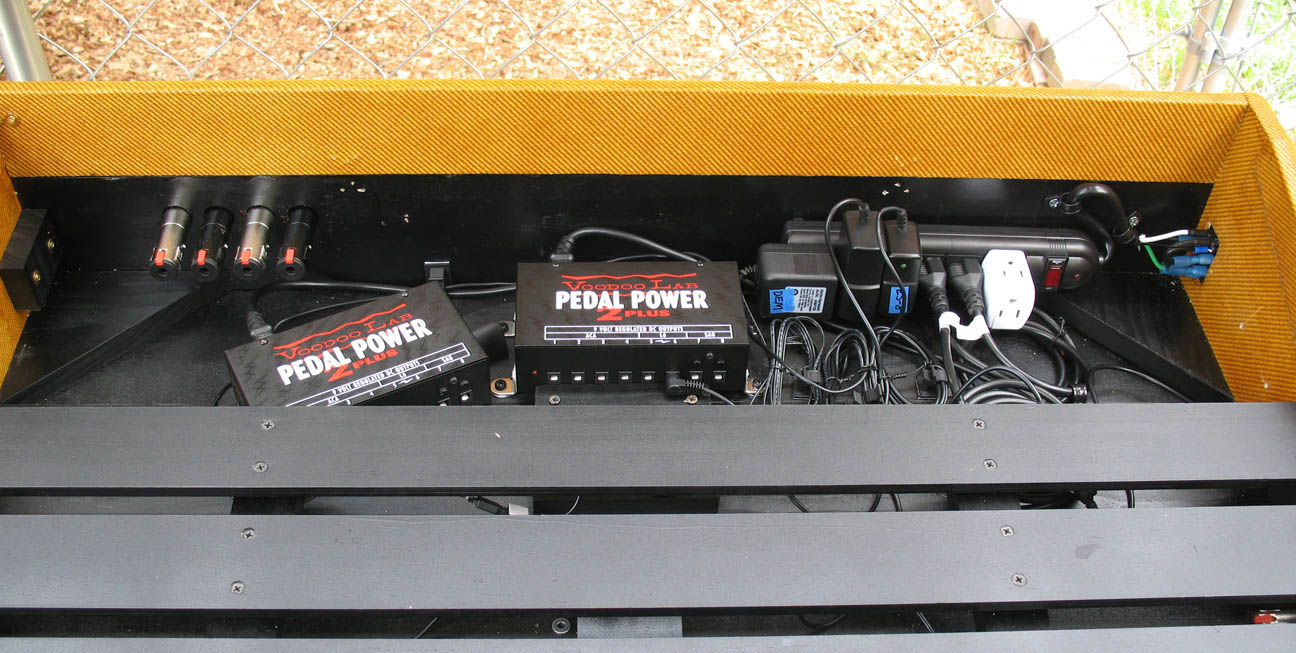
shown above - power supply plug wired up to the plug strip and installing the power strip inside the pedal board
June 27th, 2018 - The plan was to have one master power switch and a single power plug on the outside of the pedal board to supply all power. It would be connected to a power strip inside the pedalboard that the Voodoo Labs power supplies would be plugged into, along with a few extra outlets for addional power supplies. I found the power switch plug on Amazon.com, an Urbest Male 10A 250V Inlet Module Plug with 5A Fuse Master Switch. I also got the plug stip on Amazon, a Weltron 6 Outlet Surge Protecter with EMI/ RFI noise rejection - 1875w/15a. I cut the outlet plug off the power strip cord and wired it directly to the inlet module, then mounted and screwed the module and power strip to the wood case. I went to attach the Voodoo Labs power supplies to the wood mounts and found that I had miscalculated the height of the Voodoo Labs boxes when they were mounted on the support boards. They hit the center shelf, so I had to move them farther back. Quick fix, and now they are both screwed down in place.