Kits Secret Guitar, Gear, and Music Page
Guitar stuff, gear stuff, soundclips, videos, Gilmour/Pink Floyd stuff, photos and other goodies.
Copyright Kit Rae.
VISIT MY SWORDS, KNIVES and FANTASY ART WEBSITE www.kitrae.net
CUSTOM PEDALBOARD PROJECT - Part 3
Article written in 2018. Last update March 2019


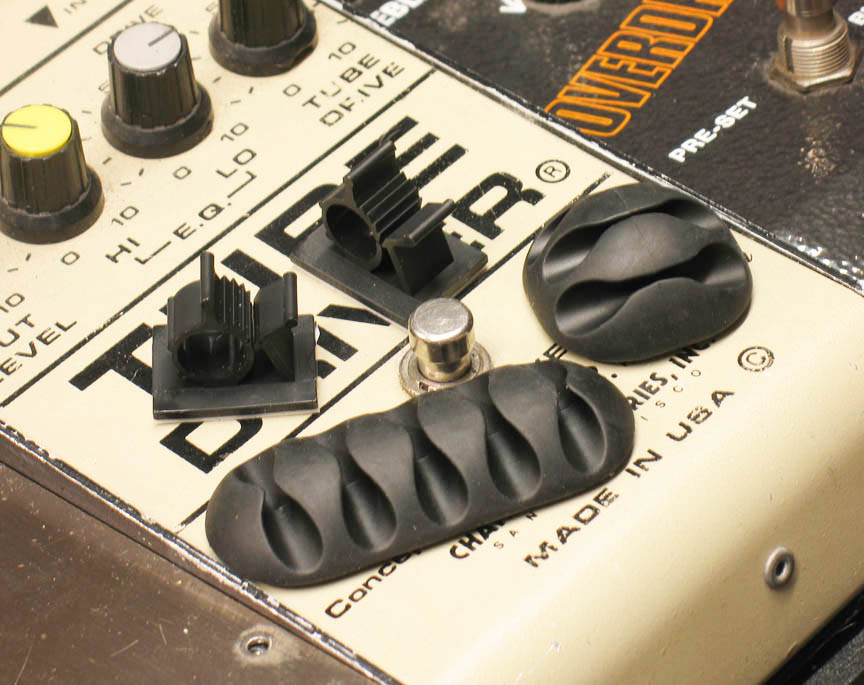
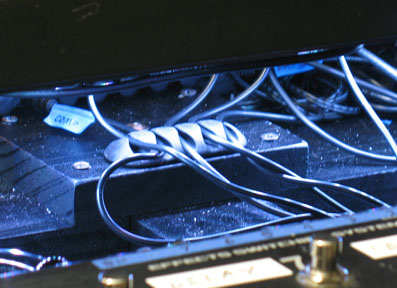
shown above - adhesive backed cable organizers
July 18th, 2018 - To keep everything neat and tidy inside I planned to coil all the excess power cables and secure them to the bottom of the pedalboard with some stick-on and screw-down cable organizers/clips, and group all the patch cables and power-to-pedal cables in cable organizers. I tried several different cable organizers/clips and settled on some adhesive backed Rubber Cable Organizers and eBook adjustable cable clips from Amazon.com. These are commonly used for desktop computer cable organizing. The eBoot loop clips close tight with a ratchet lock, and snap back open, so it is very easy to add or remove cables.
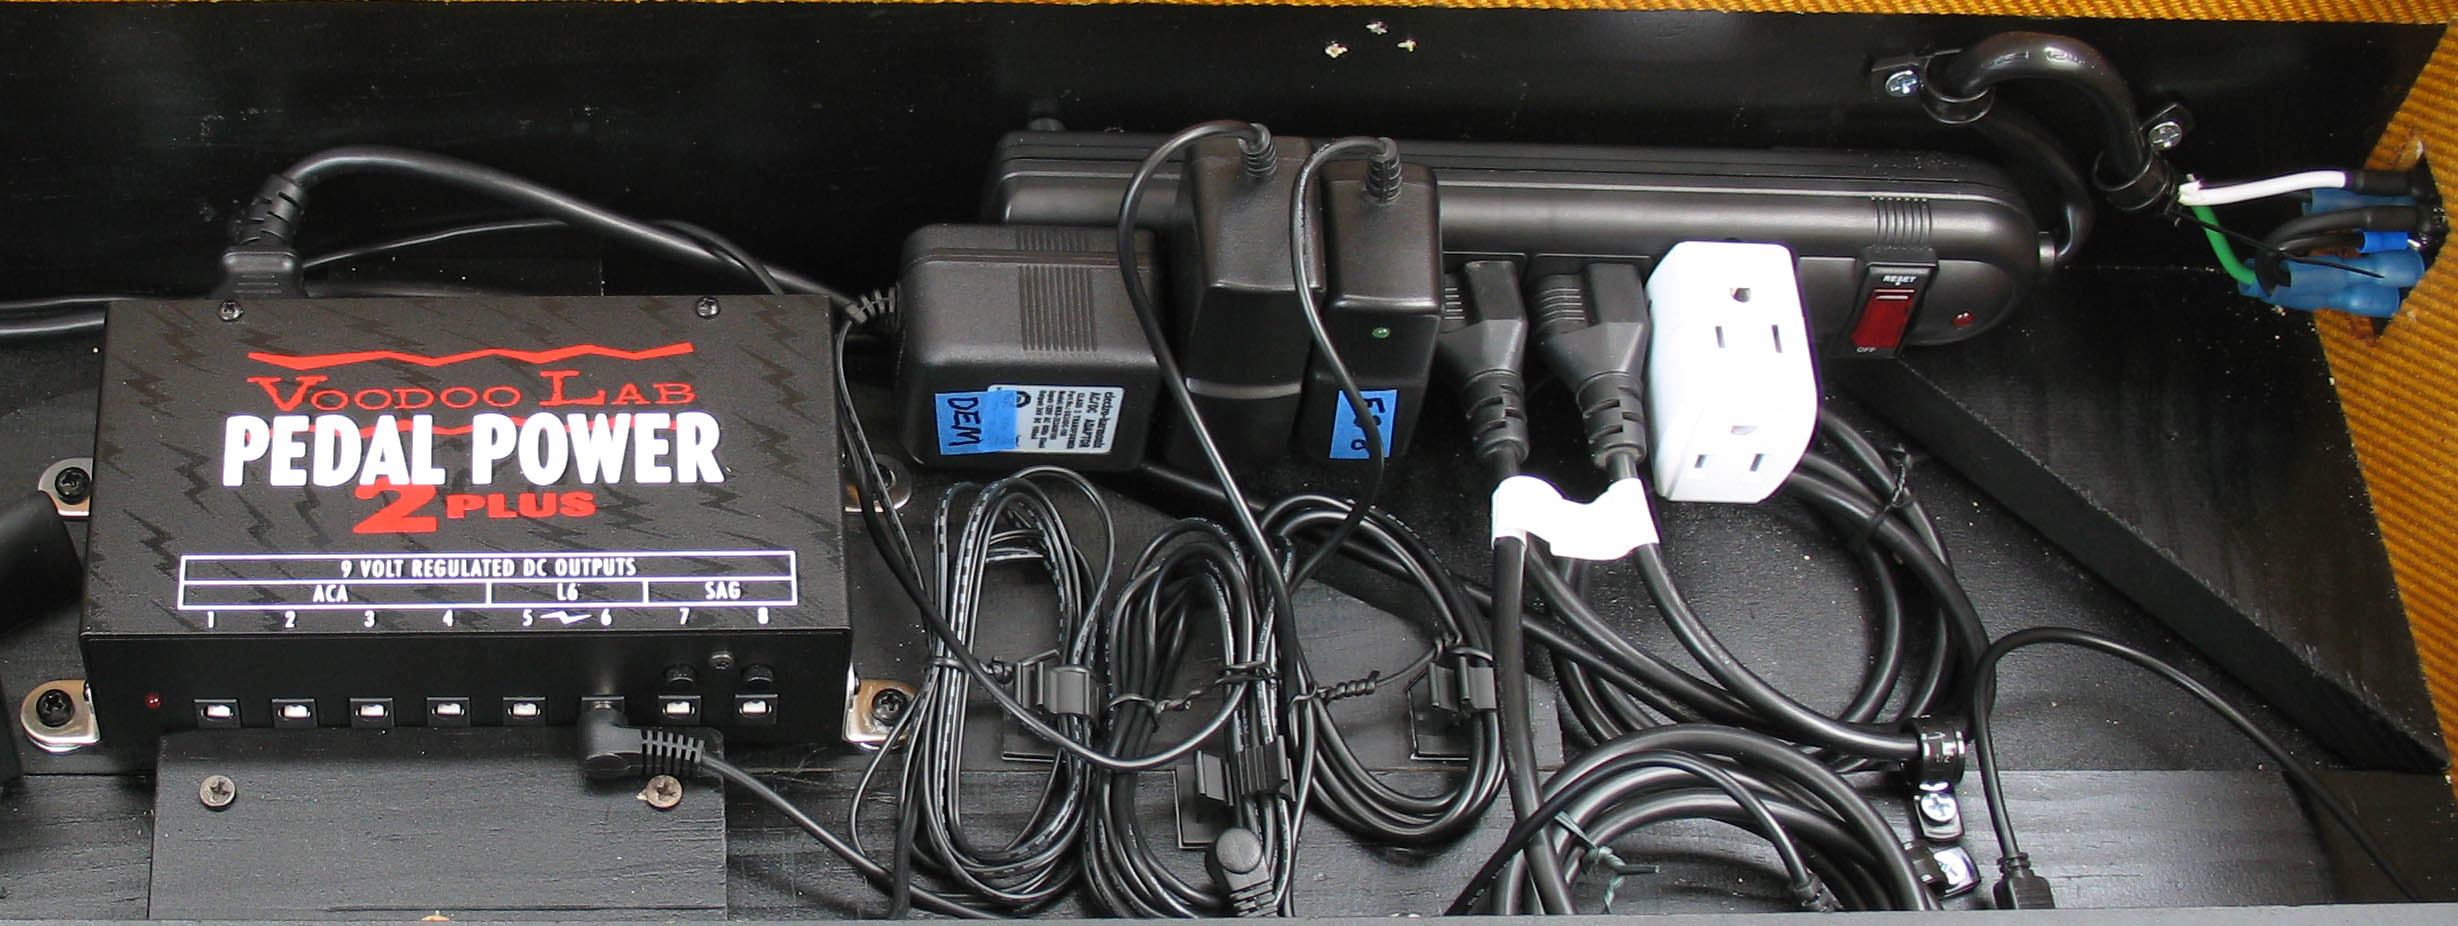
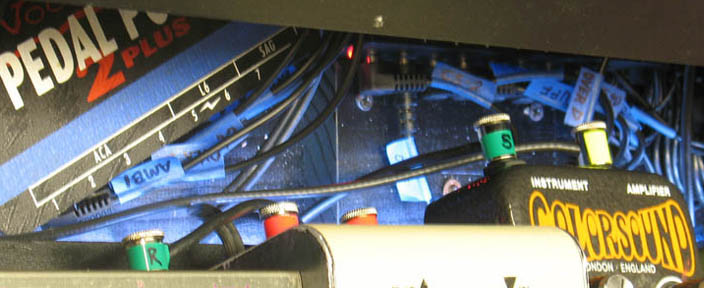
shown above - power supplies and power strip installed and labeling all the Voodoo Labs power supply cables with blue tape
Next I plugged in all of the separate power suplies to the plug strip, coiled the excess cables, and fastened them to the board with cable organizers. Then I connected all the pedal power cables to the Voodoo Labs power supplies and labeled both ends of every cable using blue painters masking tape. I always label cables this way to make it easy to unplug or move things in the future. It is definitely worth the ime to do this.
shown above - 3M Dual Lock SJ3541 and SJ3542, and the pedals mounted using it
July 19th, 2018 - Next came mounting the pedals securely to the shelves. I wanted something that would hold the pedals securely, but be simple to remove if I wanted to trade out pedals in the future. I have tried just about every way to mount a pedal to a board - velcro, zip ties, bycicle chain links, command strips, et cetera. I asked for recommendations on a few forums and some people suggested I try 3M Dual Lock, so I did. It was expensive, but it won me over. It is similar to standard velcro, with a male and female side, but 3-4x stronger. You don't need much, and the pedals do not move when you step on them. It is rock solid. At first it seemed very difficult to remove a pedal by hand after it was locked down becasue the bond was so tight, but I found that they coud be pried up easily with a screw driver under the pedal.
There are different types of Dual Lock with varying degrees of bonding. I found it is best not to use the same type on each side, as it will be nearly impossible to unlock if you want to switch out pedals. Best to use one side strong and one side weak. Guitareffectspedals.com sold Dual Lock by the foot so I bought 6' for about $30. One side was 3M Dual Lock type SJ3541 and the other side SJ3542.
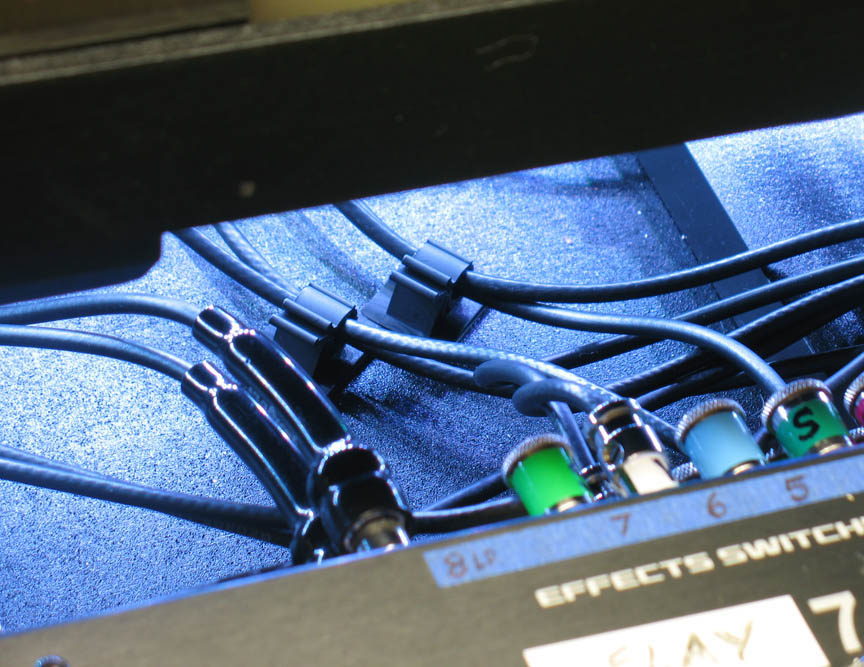
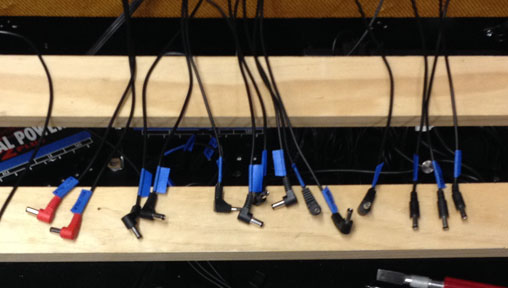
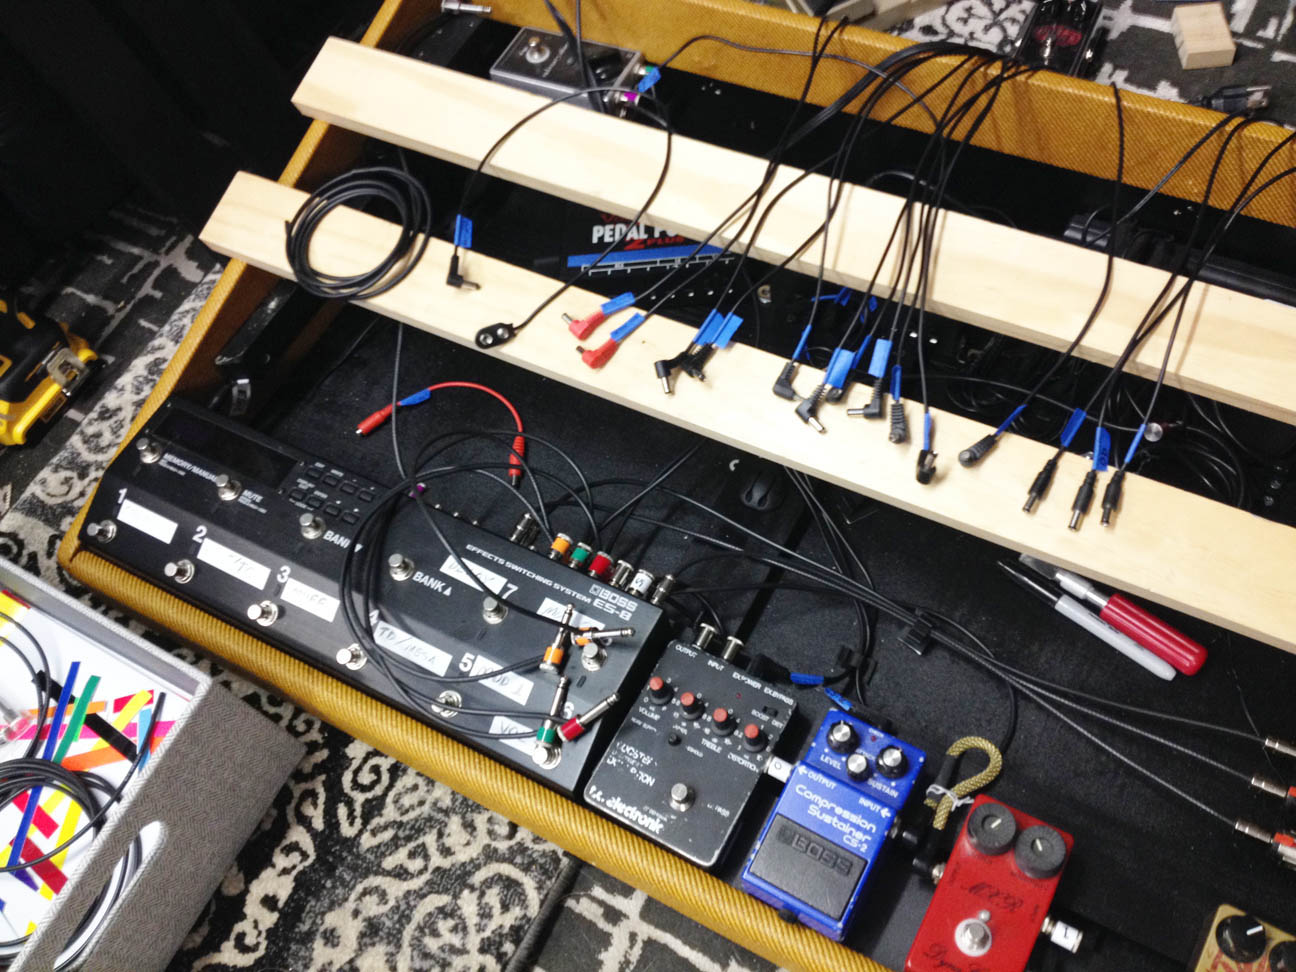
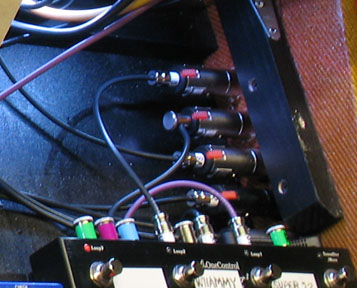
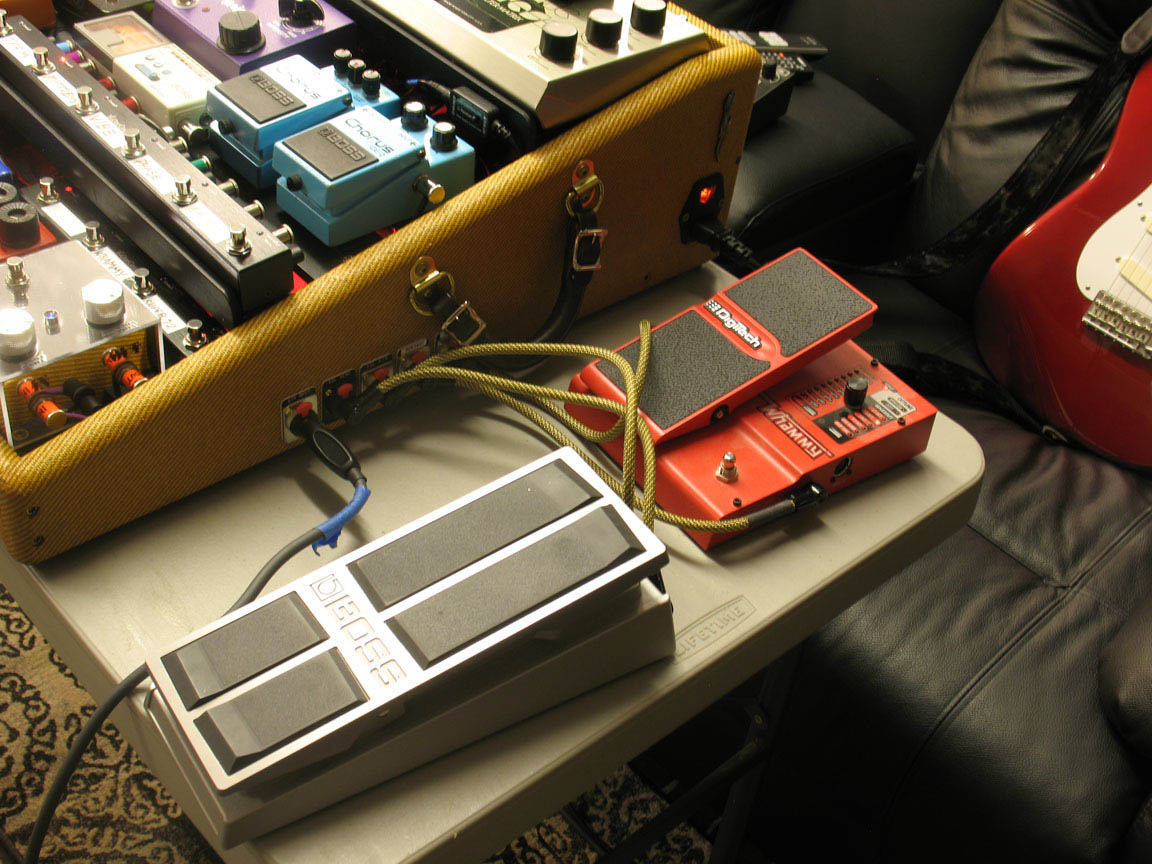
shown above - patch cables with colored tape on the jack to make identification easy
July 20th, 2018 - Now it was time to start connecting all the patch cables form the input and output jacks, Boss ES-8 and loop switchers. I had always used George L's cables in my past pedalboards, so I had plenty of that around. I bought an extra kit as well, because this was bigger than any pedal board I had built before. The first thing I did was to color code the jacks on both ends of every cable with various colors of adhesive vinyl tape that I bought off Amazon.com. That made it much easier to organize once it started to all look like a pile of black spaghetti!
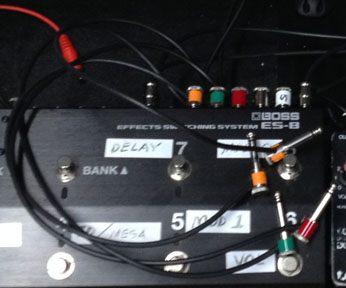
shown above - wiring in patch cables with color coded jacks
The plan was to run the looper cables as short as possible, but still long enough to open the shelves without pulling too tight on the cables. I used all of my pre existing cables and cutting them to length as needed. I ended up needing 2x as much patch cable as I though I was going to need, so I purchased another pack of George Ls. After I had everything wired up I reviewed the lengths once more and did some more cable shortening.
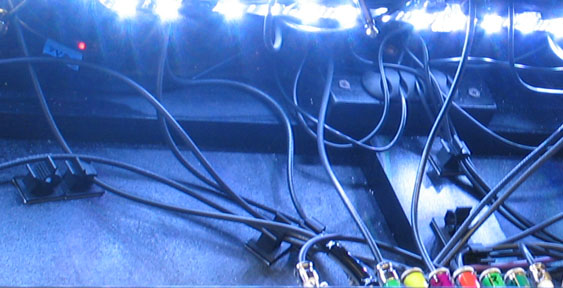
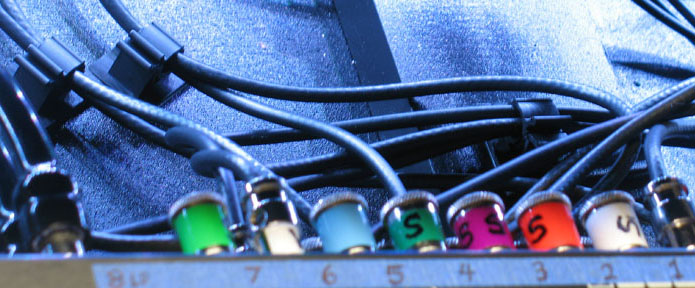
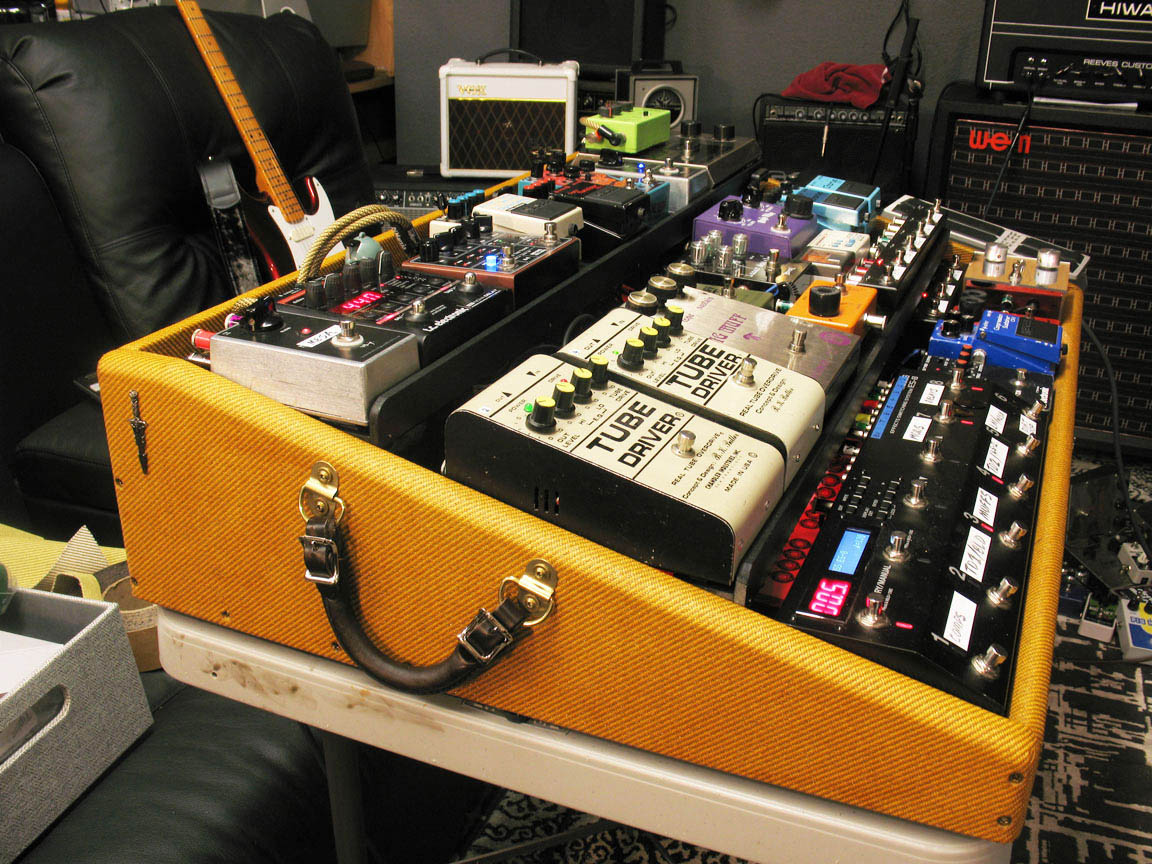
shown above - George L's patch cables installed and routed in cable organizers
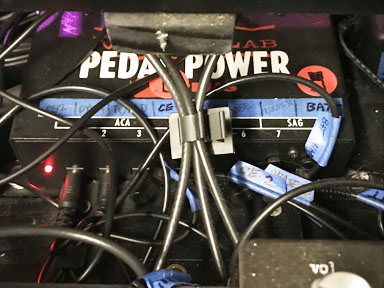
July 22nd, 2018 - After the patch cables were connected I connected all of the power cables from the Voodoo Labs to the pedals and secured them with cable organizers. To keep EMI noise to a minimum I was careful not to run power cables parallel or too close to the audio patch cables. The LED lights I installed under the shelves made this very easy. The board was essentially complete at this stage, but I still neeed to do a round of testing to make sure everything was running fine and that there were no bad cables or power supply issues.
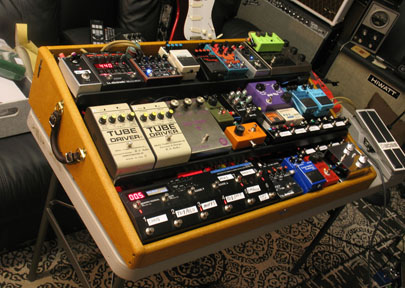
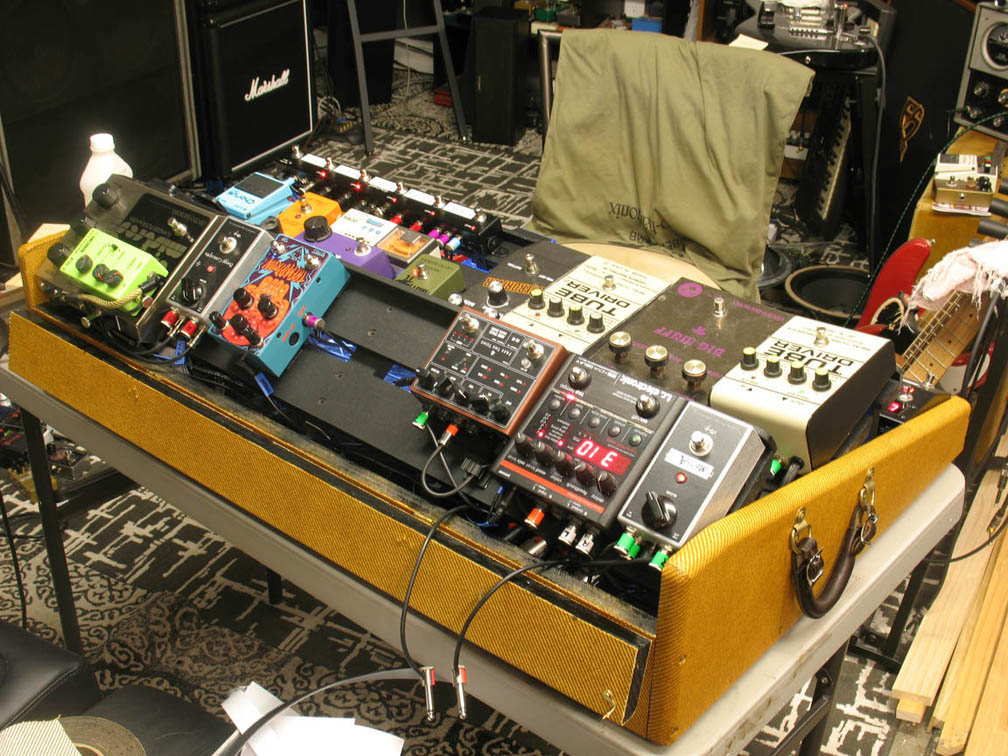
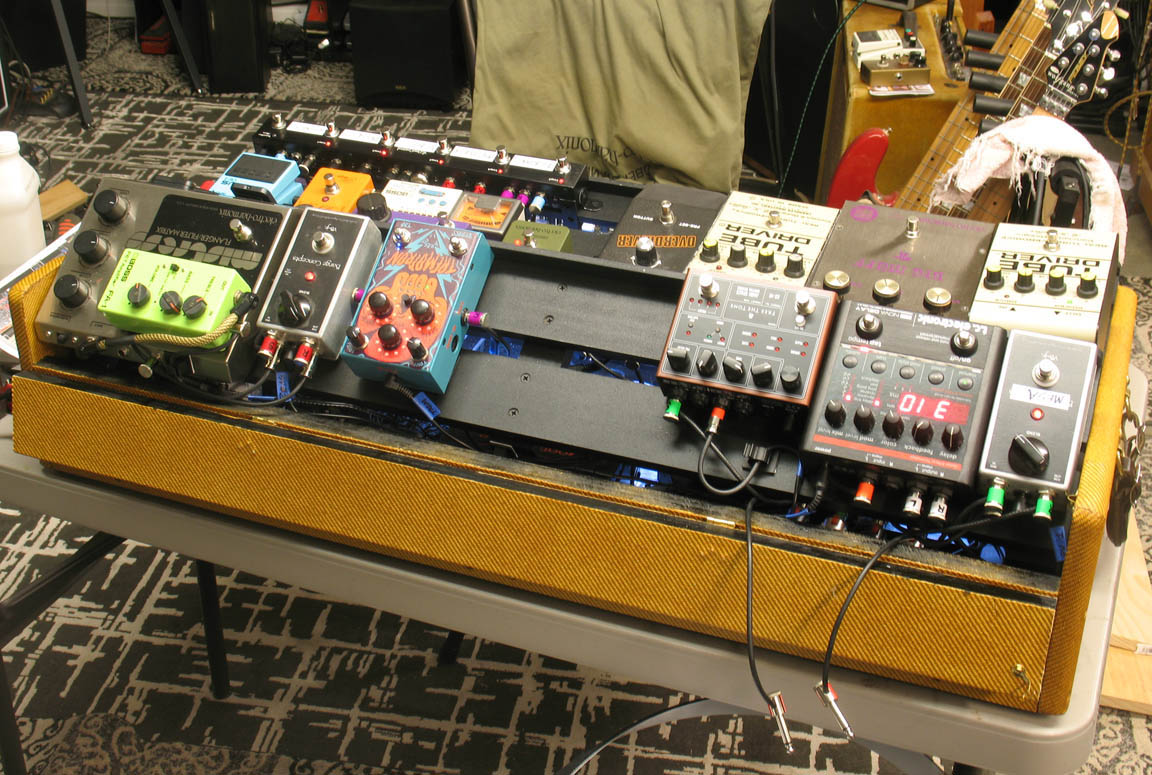
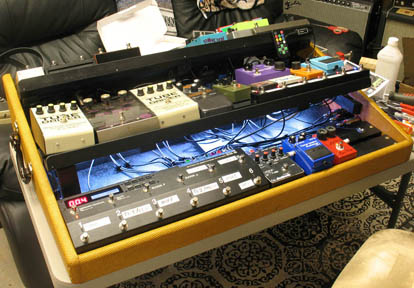
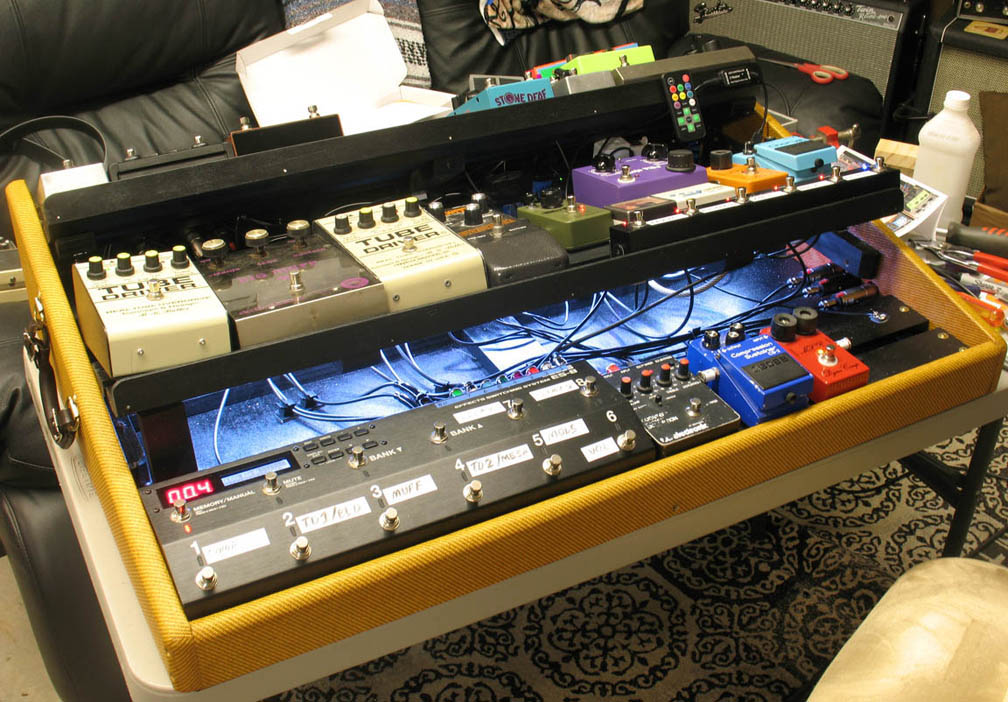
shown above - the completed pedalboard
July 29th, 2018 - After a few days of testing and programming effects loops in the Boss ES-8 I made some changes to the signal chain and swapped out a few effects for others that worked better. I also fixed a few bad patch cables and made some power supply changes to a few effects that were not behaving well with the Voodoo Labs. Having the shelves tilt back made accessing the cables and changing out pedals easy!


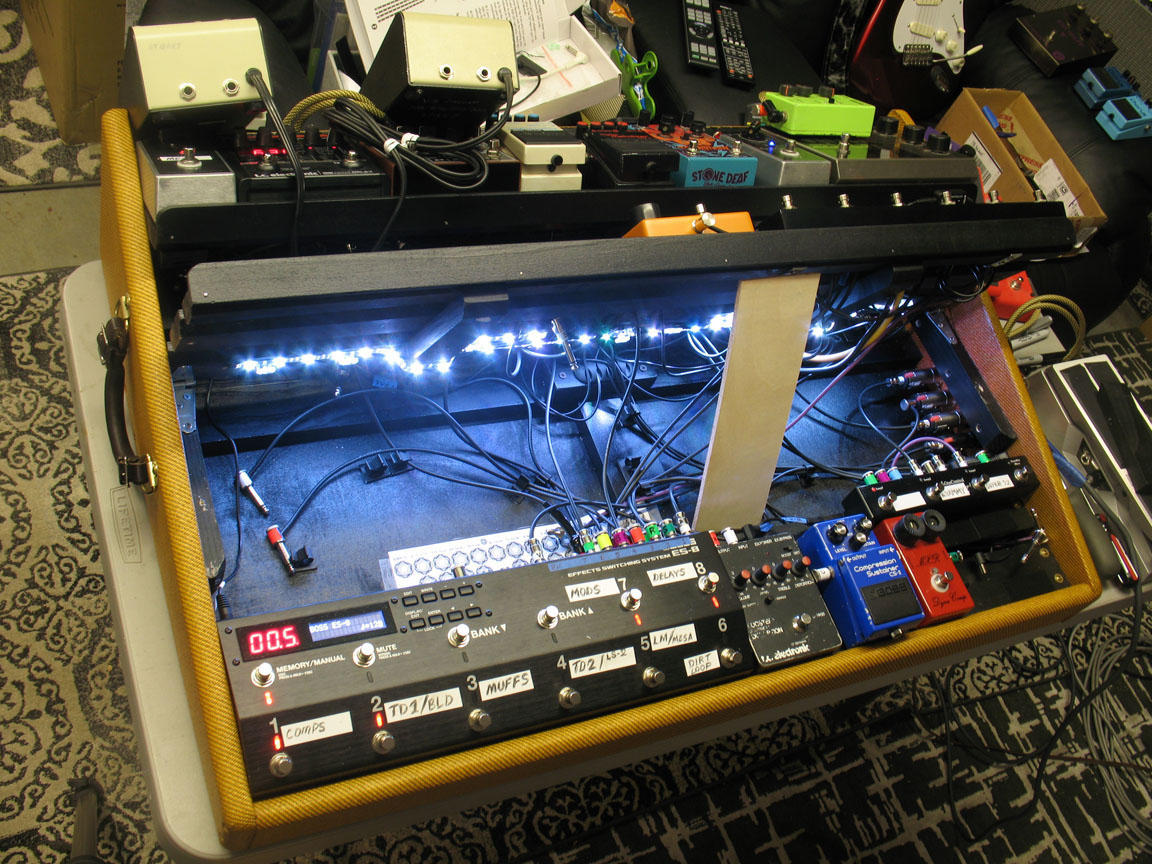
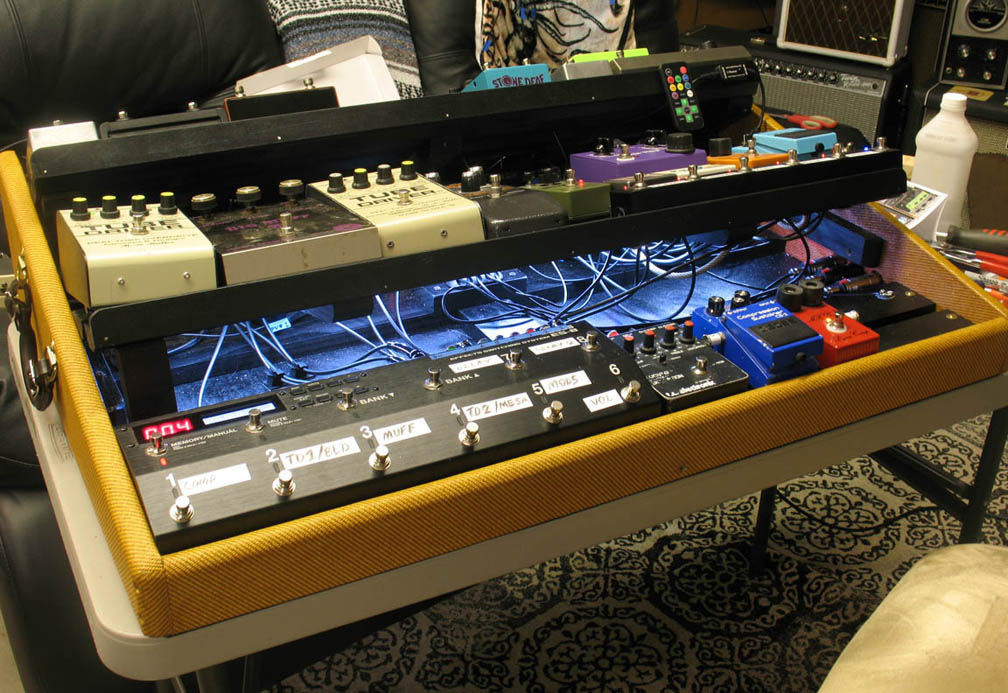


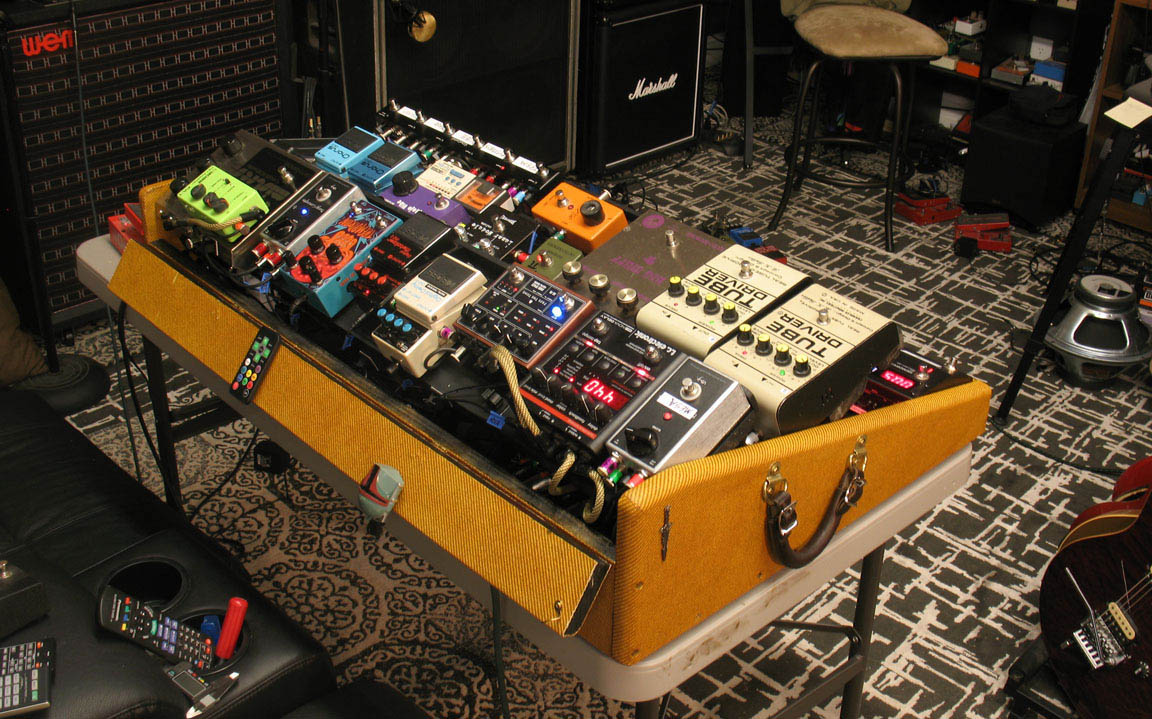
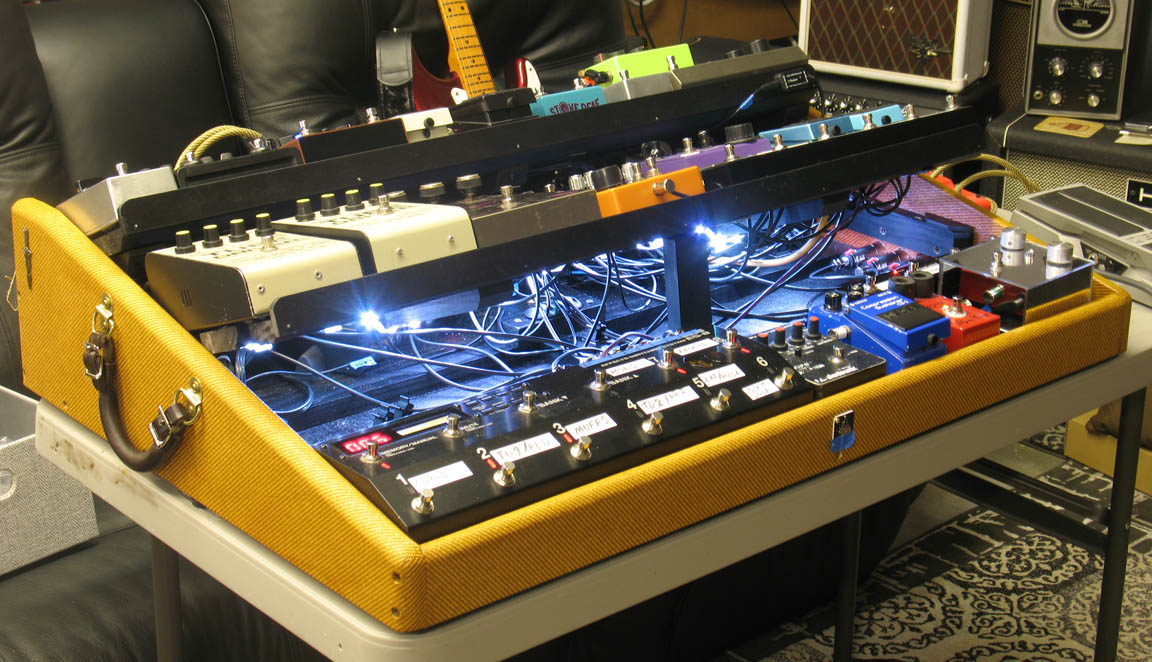
shown above - demonstrating the tilt back shelving for wiring access
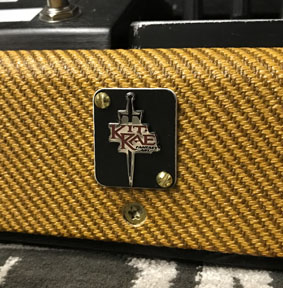
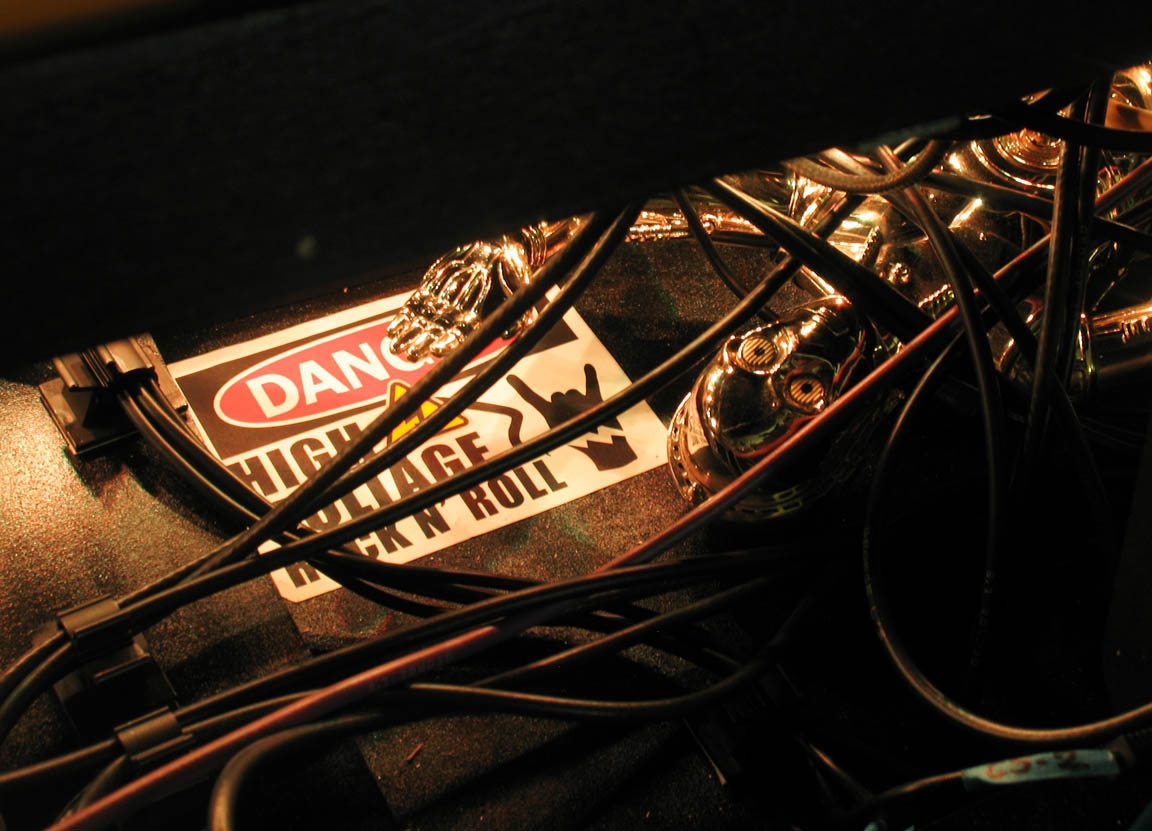
shown above - a final touch was to add a High Volatge Rock N Roll warning label inside the pedalboard
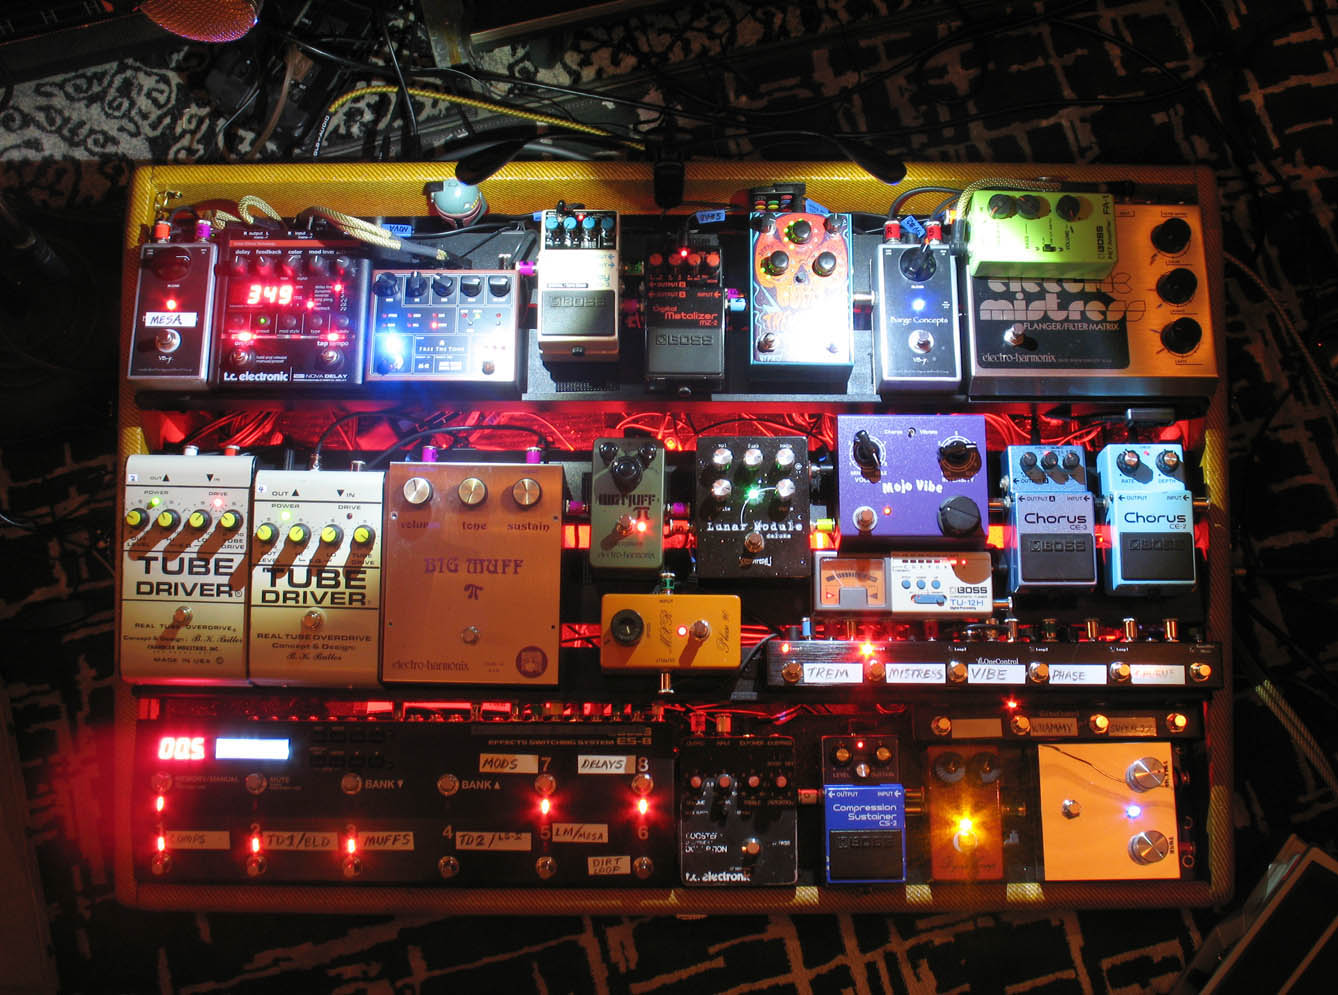
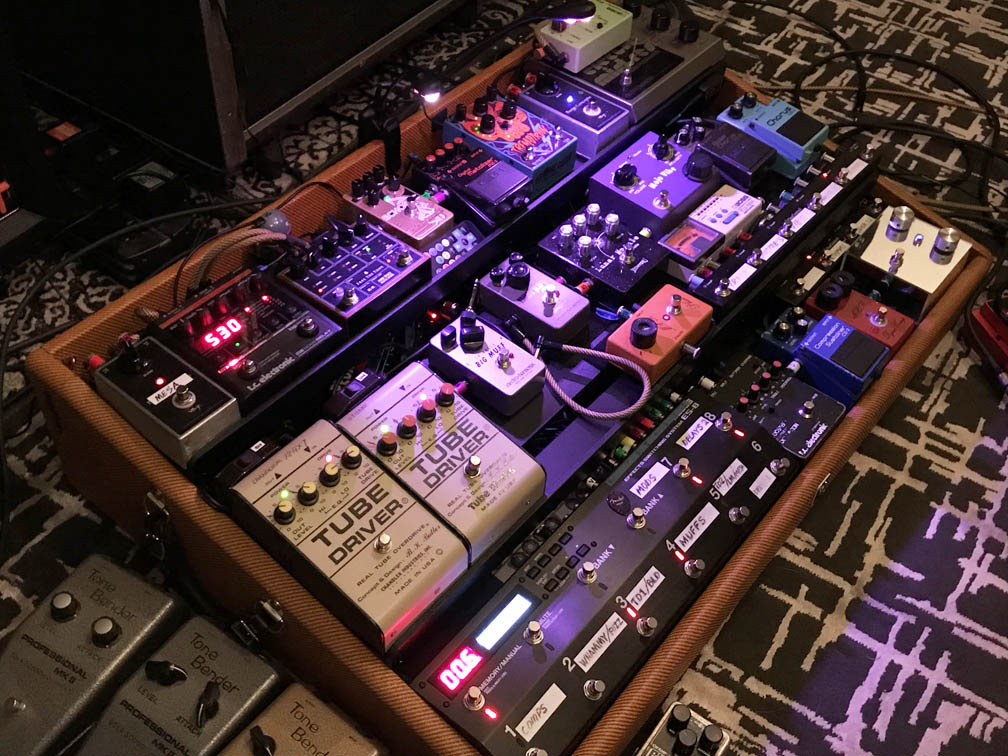
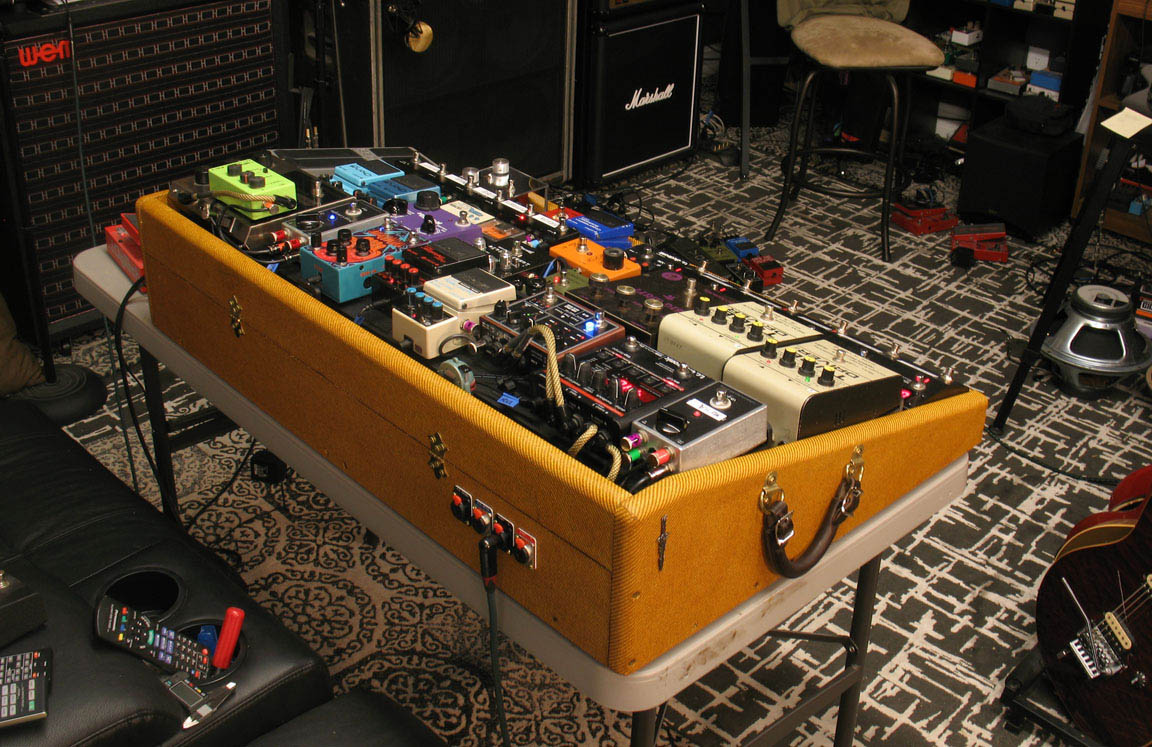
shown above - the completed studio pedalboard with LED stage lighting added
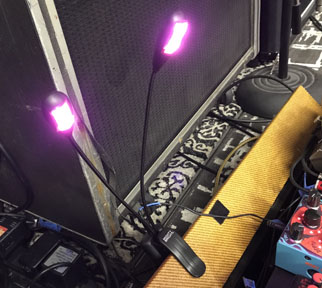
August 4th , 2018 - One last thing was to add LED lighting to see the knob settings on the pedals clearly in the dark. I bought a Mighty Bright 52010 Pedalboard Light from Amazon and mounted it on the backwall. The board was finally complete! It is much heavier than I thought it would be and required two people to move it to the studio floor. If I were planning on using it as a gigging board I would have made two separate boards that were easier to move and transport that linked together with a patch cable, but this was always intended to be a studio board.
Overall I am very pleased with the pedalboard and it is so much better than if I had just bought a stock pedalboard. It does everything I need it to do and it is easy to swap out pedals if I want to change things up. It is the most user friendly, and low noise pedalboard I have ever played through. The looper-within-looper concept works as well as I had hoped and really made the board much more versatile. Hopefully this will be my last pedalboard!